Wednesday, September 10, 2014

Coffee Flan/Custard Pudding

We have milk that was about to expire the next day and didn't know what to do.  I thought about steam milk custard but then found a simple recipe for custard pudding, which look and tastes exactly like flan except we steam it instead of baking.  The only thing I change is double the ingredients, add instant coffee and condense milk.  If I ever want to eat flan, I'll use this recipe again and try different flavor like coconut, pandan, and durian.  The best and quick recipe for flan.  I was so high eating my coffee flan.  Every bite so smooth and delicious!!!

Ingredients:  7 (4 oz bowl)

-Caramel-
8 tbsp sugar
2 tbsp water
3-4 tbsp hot water

-Egg Mixture-
4 large eggs
500 ml milk
5 tbsp sugar
3-4 tbsp condense milk
1.5 tbsp instant coffee (used nescafe taster choice) +1/4 boiling water

unsalted butter (optional if eating in the bowl)

Method:

1.  Prepare your molds and wipe the inside with some butter.
2.  In a small pot, place the sugar with water and cook on med heat until caramelize.  Turn off stove and add in 3-4 tbsp hot water, mix.  Now pour into molds.
2.  In a big bowl, slightly whisk eggs until mix but not foamy.  Put aside. 
3.  Pour milk into a large microwavable bowl and microwave for 2 mins.  If it's an old microwave then do 3 mins until warm-hot but not burning.
4.  While heating milk, prepare the coffee.
5.  Add condense milk and sugar to hot milk.  Add in the prepared coffee.
6.  While the milk is still warm-hot, slowly whisk into egg bowl.  Add slowly to prevent cooking the egg.
7.  Strain the mixture and then divide into molds.  Cover individual mold with aluminum foil.
8.  Place a towel in your pan, place the molds in.  Add in hot water to the pan about 1/2 of mold.  Cover and steam on low heat for 20 mins.  Do not let the water bubble up or your flan will have lots of bubble.  After 20 mins, turn off heat and let it sit for another 5 mins.
9.  Take molds out to cool and place in refrigerator.  Serve cold.

This is where I got the recipe: Cooking with Dog .  Check it out.


Thursday, August 28, 2014

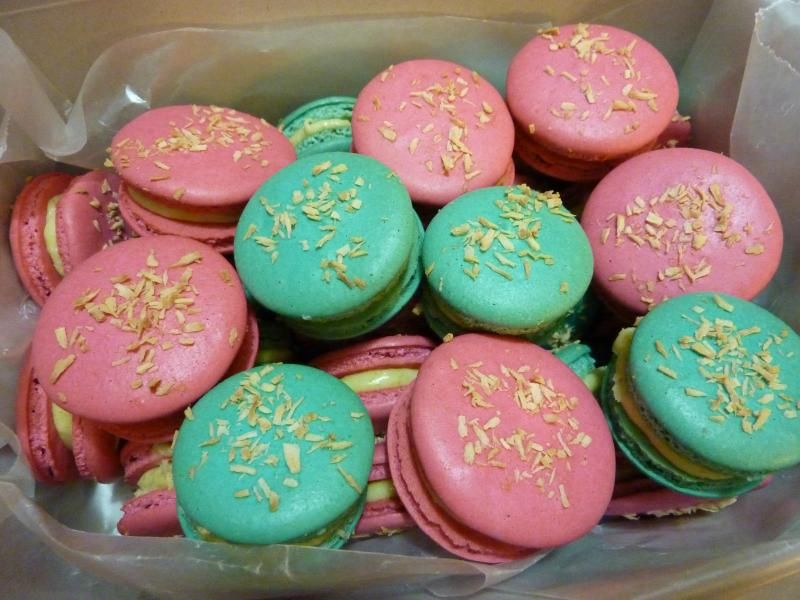
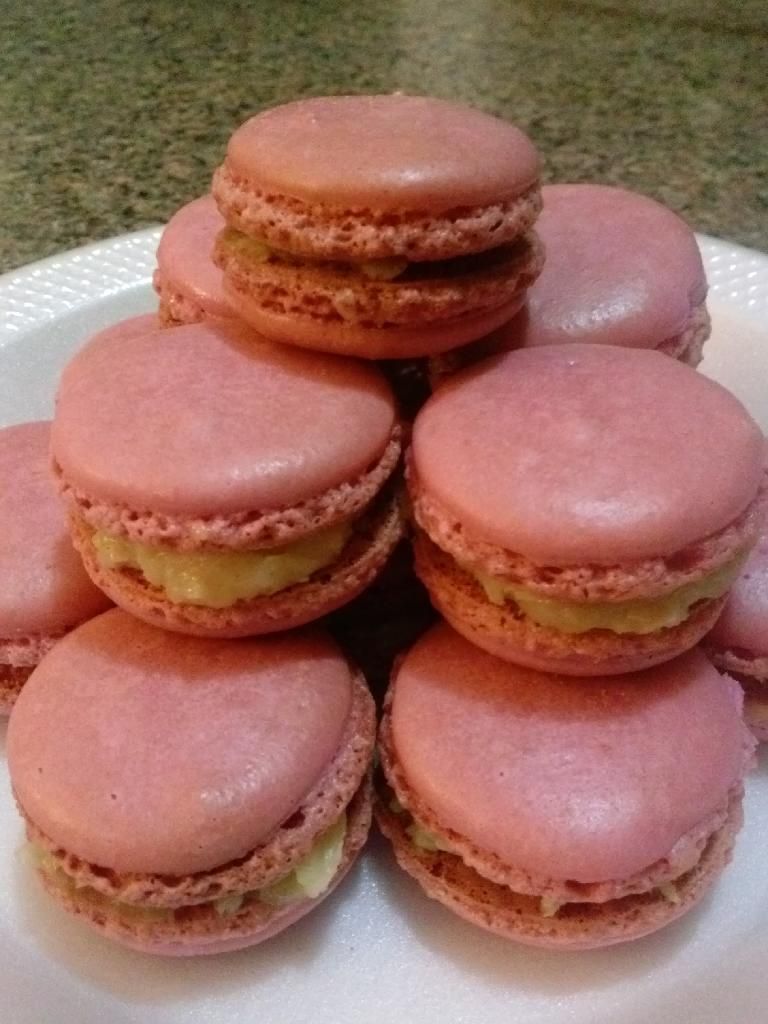
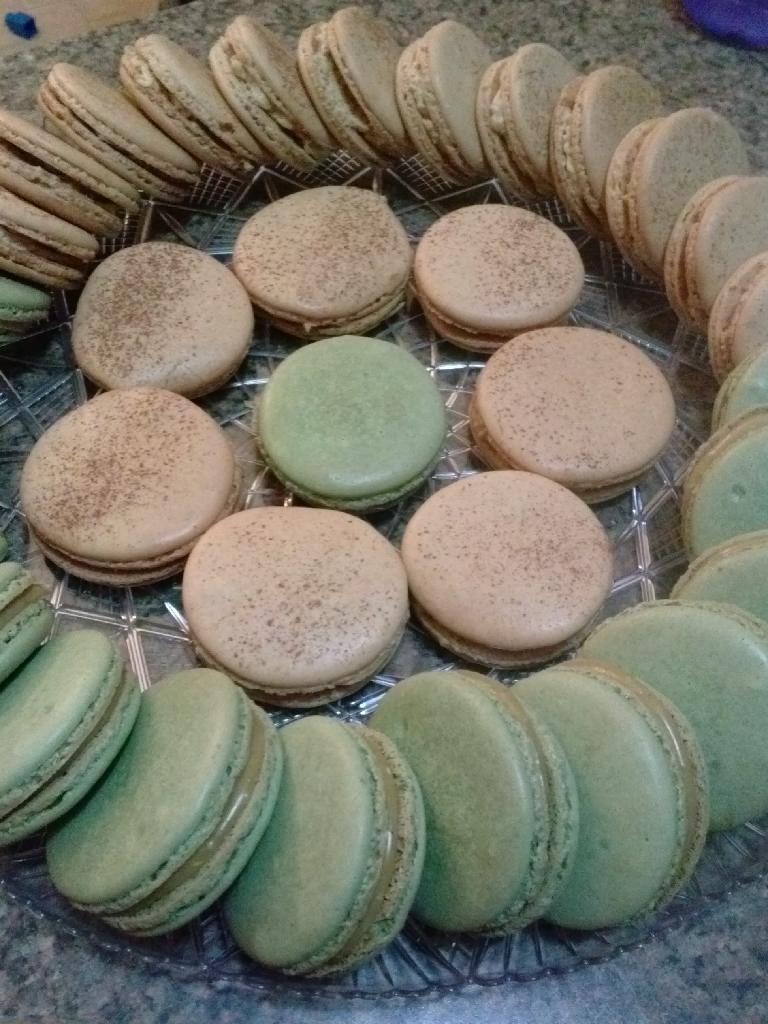
Tiramisu, Coconut, Pistachio Green Tea Macarons

My brothers once bought some macarons home for me to try.  I tried them but they were so sweet I couldn't tell which flavor I was eating.  The macarons were like $1 each.  I was like what...so expensive!  My brothers asked if I know how to make them.  After watching a few videos and different recipes, I made some macarons!  I decided to make tiramisu since my brother loves my tiranisu cake.  Coconut for my hubby and pistachio green tea for me.  For tiramisu fillings, I used mascarpone cheese, butter, coffee liquor, coffee, sugar, and cocoa.  For coconut and green tea macaron fillings, I used pistachio and lindt coconut white chocolate.   The results, we were so addicted to these macarons we ate them for a whole week and then made some more for another week.  And then when my sister came back to visit she requested for some and I made her a box to go.  


Wednesday, September 11, 2013

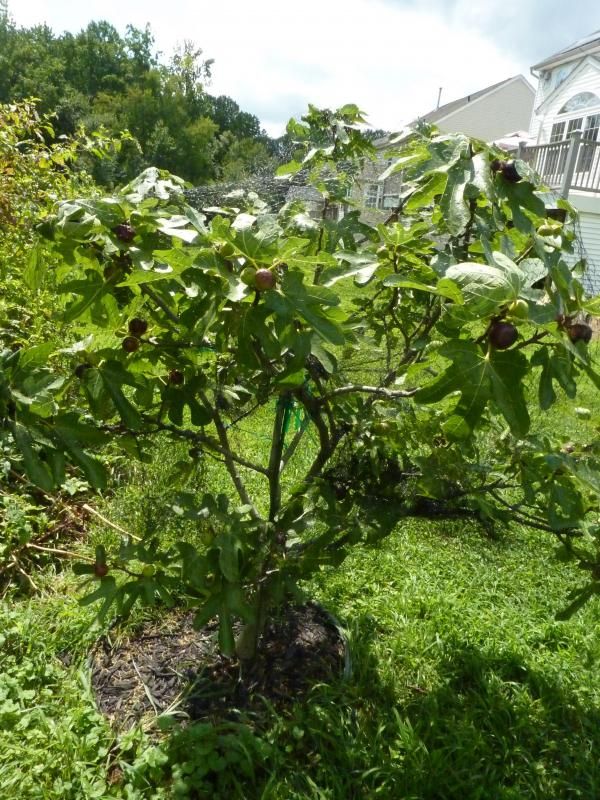
Ronde de Bordeaux and Hardy Chicago Figs

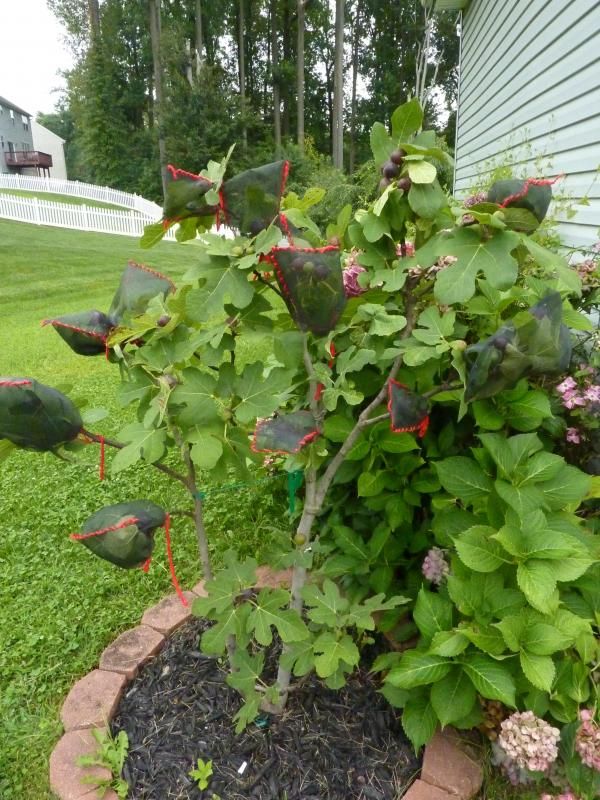
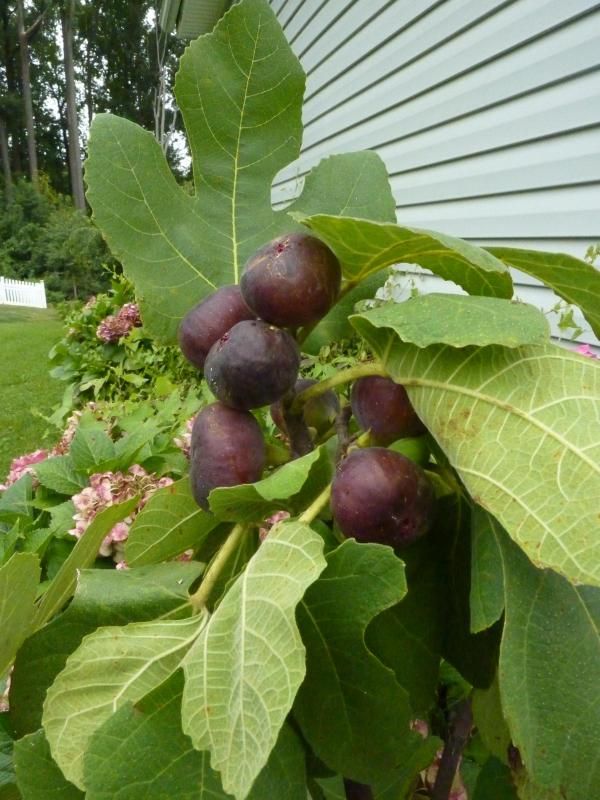
This year I planted my ronde and hardy chicago fig trees in the ground so they can grow bigger.  Planting in pot require a lot of watering and if you forget to water then your figs will get damage.  But now I will have to worry how to they will survive the cold winter.  Anyway, I'm happy with this year harvest. This year hardy chicago is doing very well and some figs are larger than last year.  My kids and I love these yummy figs!!!

Ronde De Bordeaux

Hardy Chicago

Hardy chicago
Monday, August 12, 2013

Pork Silver Needle Noodles with Coconut Sauce- Banh Tam Bi

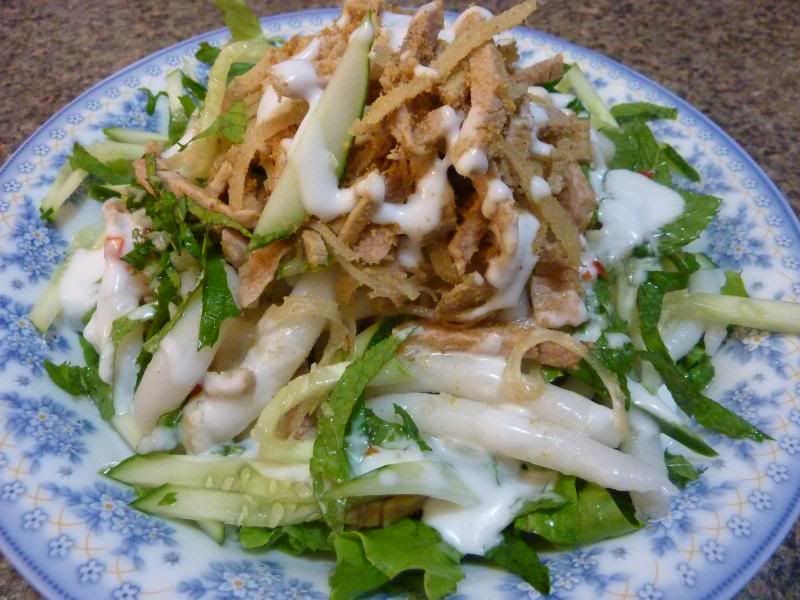
This is my first time making this Vietnamese dish.  I'm pretty satisfy with the taste.  I think I love everything with coconut milk.  I don't have a recipe since I didn't measure everything.  I made the noodles but you can buy them from Chinese Supermarket.  This noodles are noodles made from rice flour and tapioca starch and they are a lot bigger than the one used in soup.  We call these super large noodles banh tam. This dish is very easy to make but require some time for getting all the ingredients together.  People usually use the pork belly but I don't like to eat the fatty part so I just use a piece of pork.  I boil the pork until cook and slice them thin and shredded.  I wash a bag of bi- pork skin where you can find in the frozen section.  Squeeze out the water to dry.  Add a bag or two roasted rice powder to the pork and pork skin.  Add some salt and sugar to give it a little taste.  For the veggie part, I used lettuce, cucumber, and mint.  Now put everything together and drizzle some homemade fish sauce and coconut sauce. Yummy! Yummy! 


Sunday, August 11, 2013

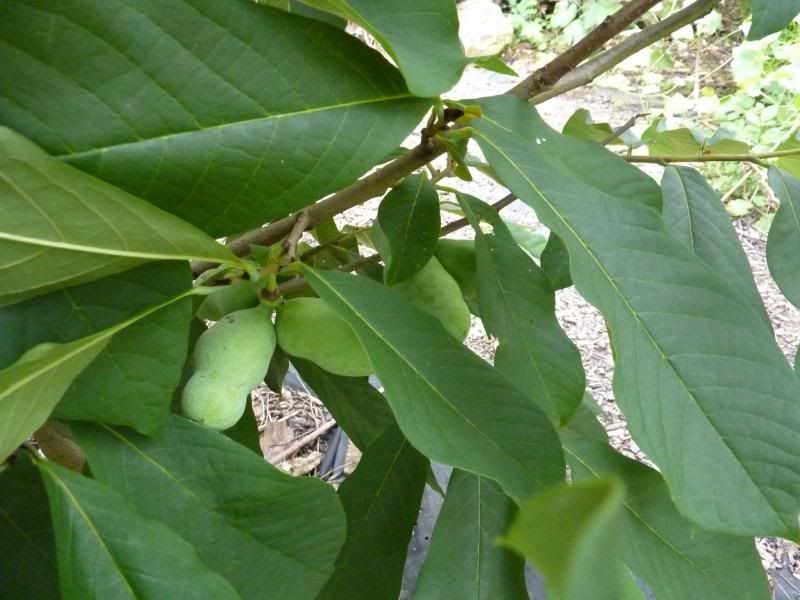
My Pawpaw Finally Fruiting!

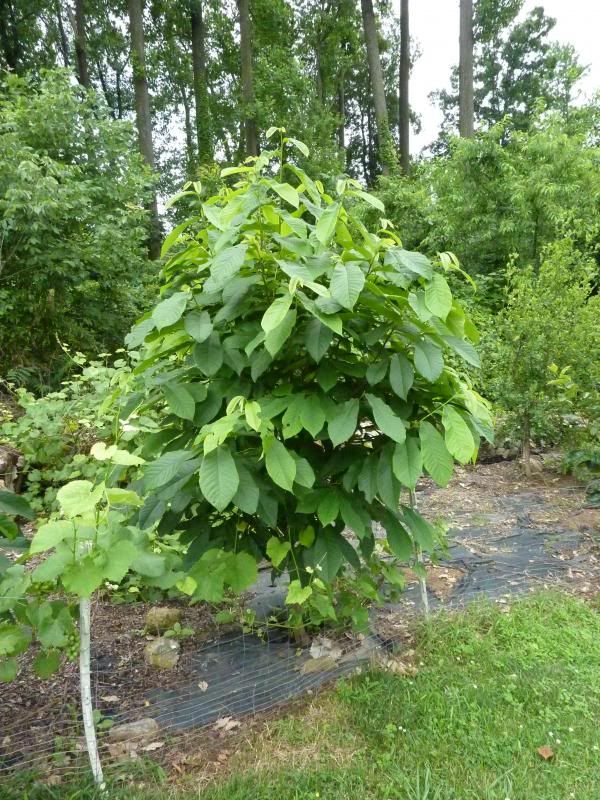
Look Like I will get to taste some pawpaw fruits this year.  Now I wonder when they will ripe.  I read pawpaw ripe at the end of September and wondering if that's true for all pawpaw.  I planted these 2-3 years ago and they're already fruiting.  Lucky I didn't have to wait 5-6 years! :)  They are Sunflower pawpaw and Golden pawpaw.


Tuesday, March 26, 2013

Rehydrate and Clean Dried Sea Cucumber

I bought a lot of dried sea cucumbers, so it's time to rehydrate and clean some of them for cooking.  This is also my first time rehydrating dried sea cucumbers and I will only rehydrate a few for experiment.  I did a number of searches to see how others rehydrate their dried sea cucumbers and all I find is a simple method where you just soak, boil, and soak.  My dad uses the same method for rehydrating dried sea cucumber except he burn it first then soak.  My dad's method yield a larger meatier sea cucumber at the end.  The color is also more appetizing as it's golden brown instead of black.   But then it's a lot more work and more cleaning.  So I will sharing this simple method instead.


1.  Soak the dried sea cucumber for 2 days.  Change water daily.
2.  Drain the water.  Using shrimp paste and rub all over the dried sea cucumber.  Leave it for 6-7 hours at room temperature.  ***Shrimp paste helps to ease the cleaning of the dried sea cucumber.  Everything will come off easily.
3.  After 6-7 hours, wash and rinse off the shrimp paste.  Then bring the sea cucumber with some ginger to boil  in a clean and grease free pot.  After the water boil for a few minutes then turn the heat off and cover.  Let it cover until the next day.
4.  Take the sea cucumber out and use a brush to clean the skin.  Clean as much as you can.  Then place in a pot, add in some water and ginger, bring to boil again then turn off heat and cover.  Repeat this step for 2-3 days.
5.  By day 6, cut open the sea cucumber (stomach side) and remove intestine and clean the inside of the sea cucumber.  After done cleaning, you can just soak the sea cucumber in clean water.
6.  Depending on the size of your dried sea cucumber soak longer for thick and larger sea cucumber.  The smaller one will get soften faster but it doesn't hurt to soak it longer.  After rehydrating and cleaning, the sea cucumber is now ready for cooking.
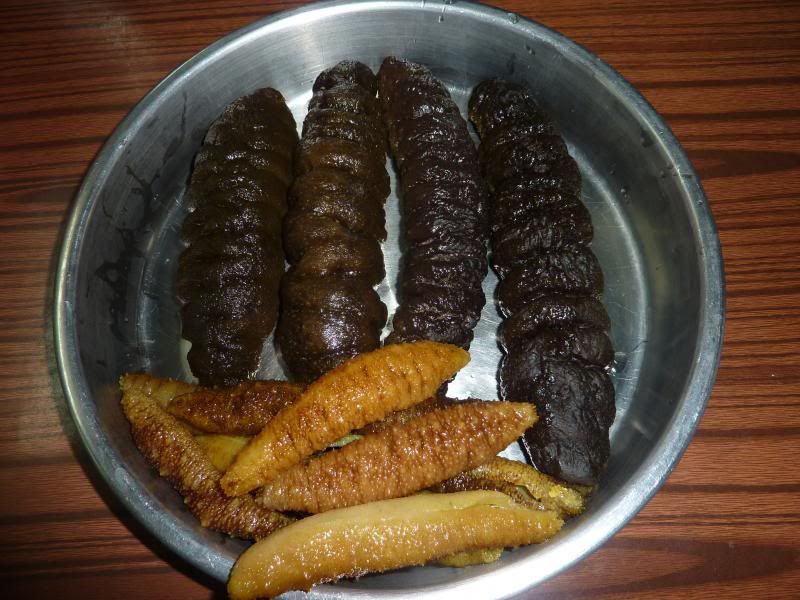
I soaked 3 of about 5- 6 inches donkey dung sea cucumbers.


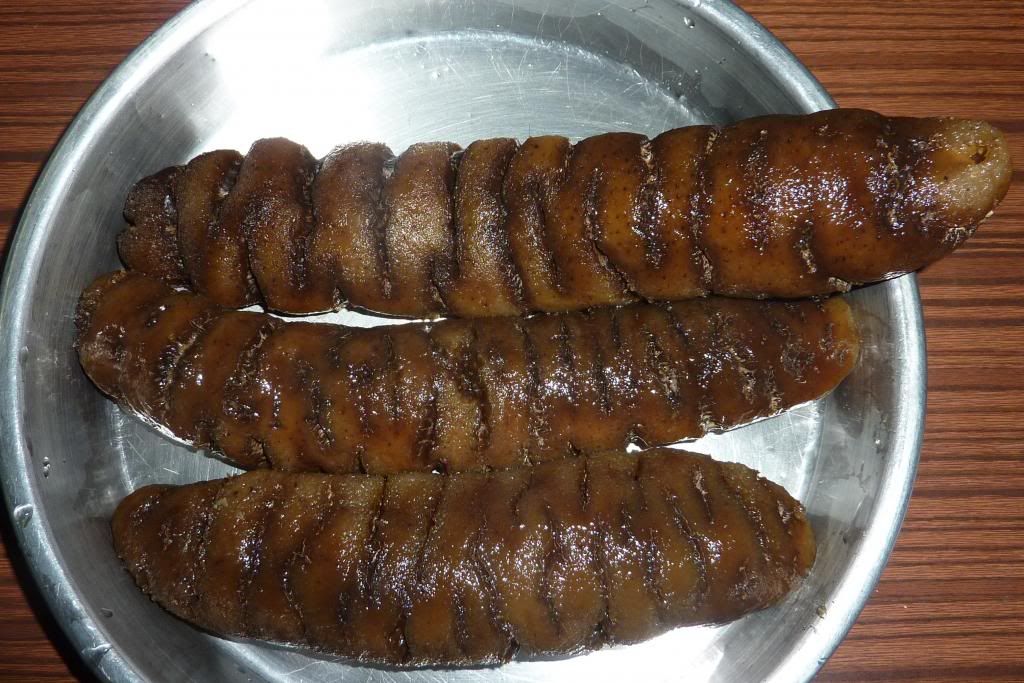
This is how my sea cucumbers look like after 7 days soaking.  The black color is not so appetizing so I had my dad to burn them over the flame for a little to lighten the color.


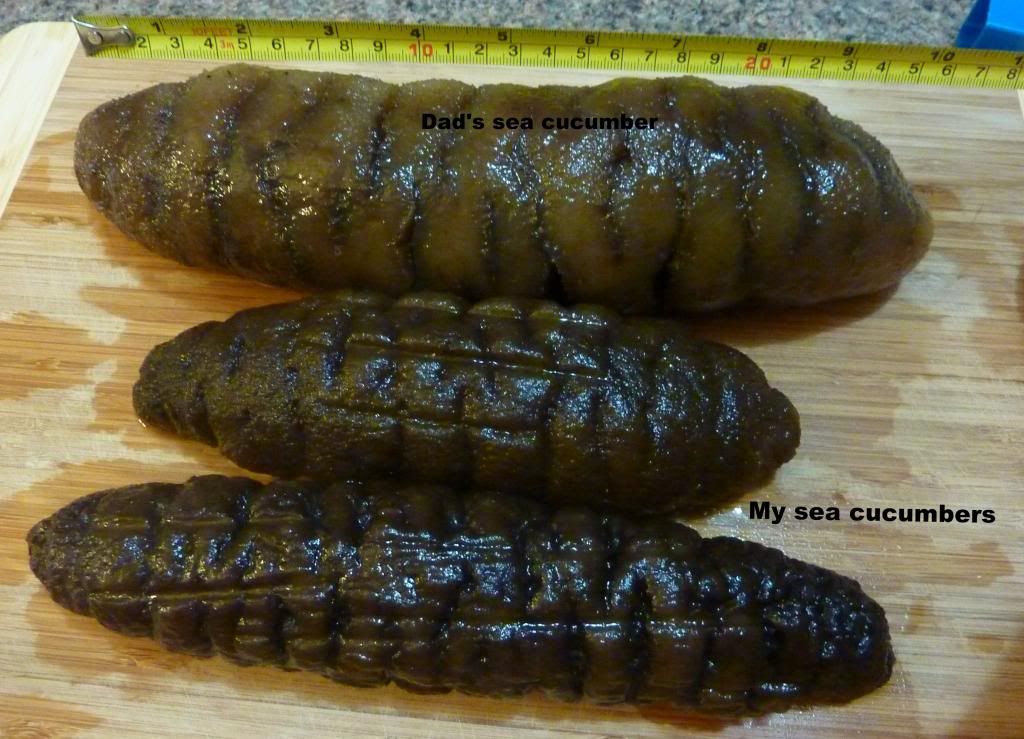
If you start with a large and fat dried sea cucumber then you'll get a large fat sea cucumber. My dad's sea cucumber  was fat and it was 7 inches when dry.  After using his method, his sea cucumber ended up 10 inches and really thick compared to my 5 inches.  Mine started at 5-6 inches and ended at 7-10 inches.


You can see the difference.  Mine was fat but not as thick compared to my dad's.


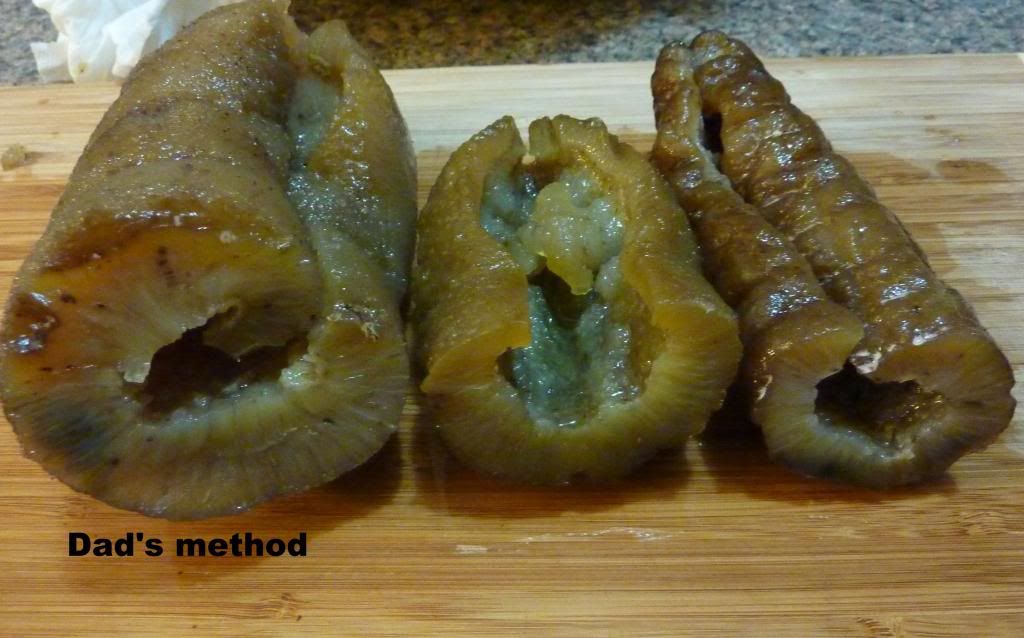
These are the one my dad soaked sea cucumbers.  He burn them first then use the method above to rehydrate them.  He been using his method for years and his sea cucumber always come out larger and thicker.  The color is also lighter as you burn away a layer of the skin.  But as you can see there's more cleaning need because burning these type of sea cucumber leads to many deep dirty lines and you'll have more brushing to do.  He started with 7-8 inches dried sea cucumbers and ended with 10-13 inches.

My dad usually rehydrate 6-8 dried sea cucumbers and then freeze them in freezer bags.  Rehydrated sea cucumbers freeze well so no worries about texture or taste change.

I'm pretty satisfied with the donkey dung sea cucumbers as they are a lot cheaper compared to other dried sea cucumbers plus they are meatier.  Because of this I just went and order some more for storage....hehehe.

***Remember, for any type of dried sea cucumber, always buy the straight, fat, large, and light in weight.  A very dry sea cucumber will yield you a larger sea cucumber.  Fat dried sea cucumber will give you a meatier thick sea cucumber after rehydration.

Saturday, March 16, 2013

Where to Buy Dried Sea Cucumber?

Back in the days my family will buy dried sea cucumber locally or in NY.  However, we always afraid we got rip off since we don't know the store is honest seller or not.  Plus a lot of stores raise their prices and sometime you have to negotiate for a better deal.  Even then you thought you got a good deal but end up somewhere else is cheaper.  And some sea cucumber are so expensive you couldn't afford to eat it.  But now you're in luck because I found a place where we can buy dried sea cucumber and the owner is a nice lady (Lily) where she will help you pick and ship to your door.  The place I ordered my dried sea cucumber is from L.J.K Dried Food Wholesale located at South El Monte, CA.  This is a wholesale so the prices are a lot cheaper than those retail stores.  They are working on their site so it will be available later.  Guess how many pounds of dried sea cucumber I ordered.  Ordered 20 lbs of dried sea cucumber.  Yup...20lbs.  How in the whole am I going to finish them?  Well, they are dried so I can store them for a very long time.  I will also share these with my parents and have some for myself or give some to friends.  I think the reason why I ordered so many because the price is very reasonable.  

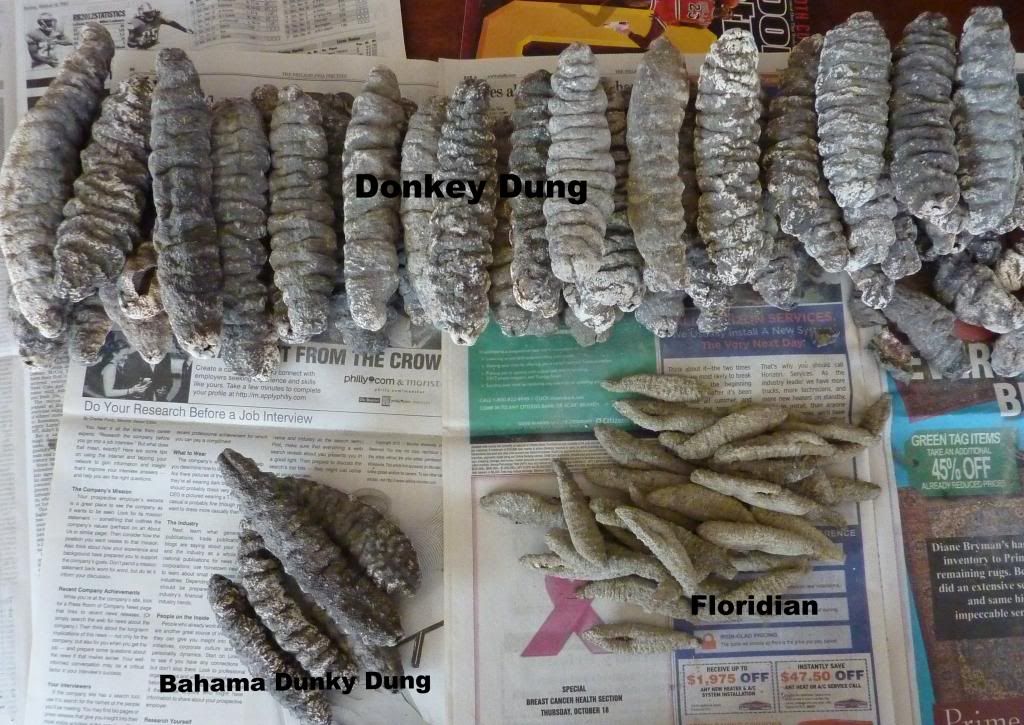
Here is the picture of my 20lbs dried sea cucumber.  I ordered three different kind ( 18lbs donkey dung, 1 lb bahama, and 1 lb floridian just to try these out first before I order more.)  The donkey dung (chinese name: Fu Pei Sum) is from Mexico.  I think the reason for the cheaper price is because it's from Mexico, harder to clean, and lives in the shallow water.  I have tried the donkey dung where I bought from a different store before.  The donkey dung (a weird name :) have a thicker meat compared to the other and tastes very good....of course that have to do with how you cook it.  At first I wasn't thinking of order donkey dung because it's harder to clean compared to other sea cucumber.  However, Lily changed my mind because she tells me a way to clean it and I'm going to try that method and will post later after the 7 days rehydrating process. So stay tune to how to rehydrate and clean the dried sea cucumber.  I also think you get more for your money on the donkey dung compared to other sea cucumber.  Plus, I learn that nutritional value of all sea cucumbers are similar or same, so way waste money on the more expensive one :).


Tuesday, March 12, 2013

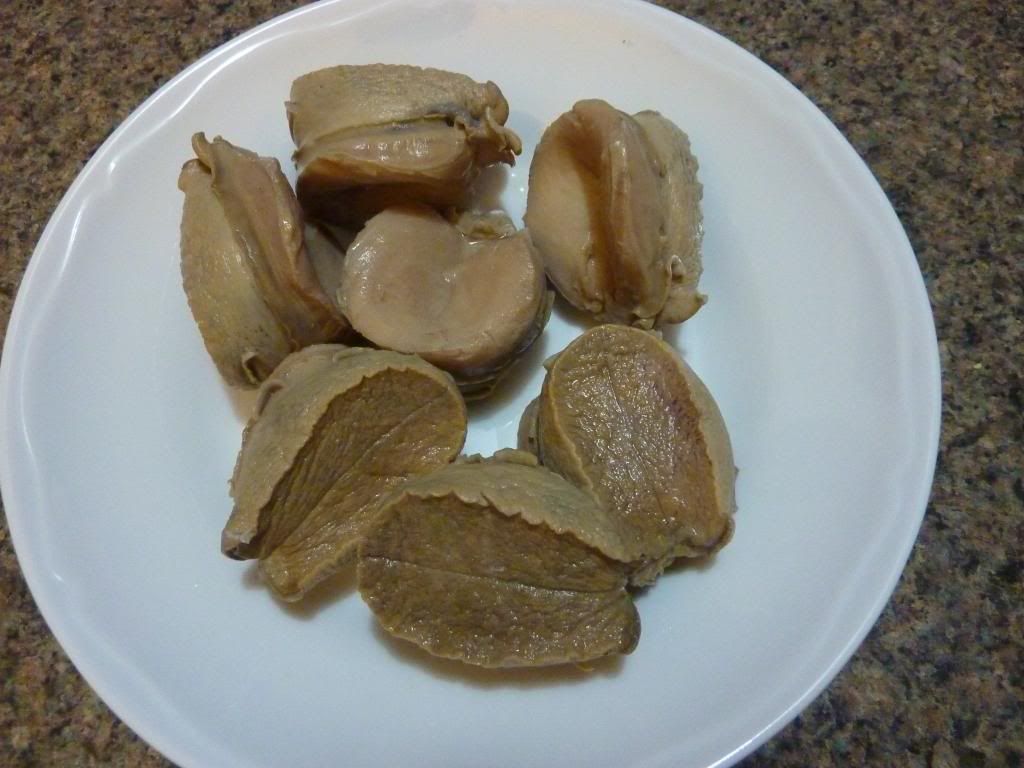
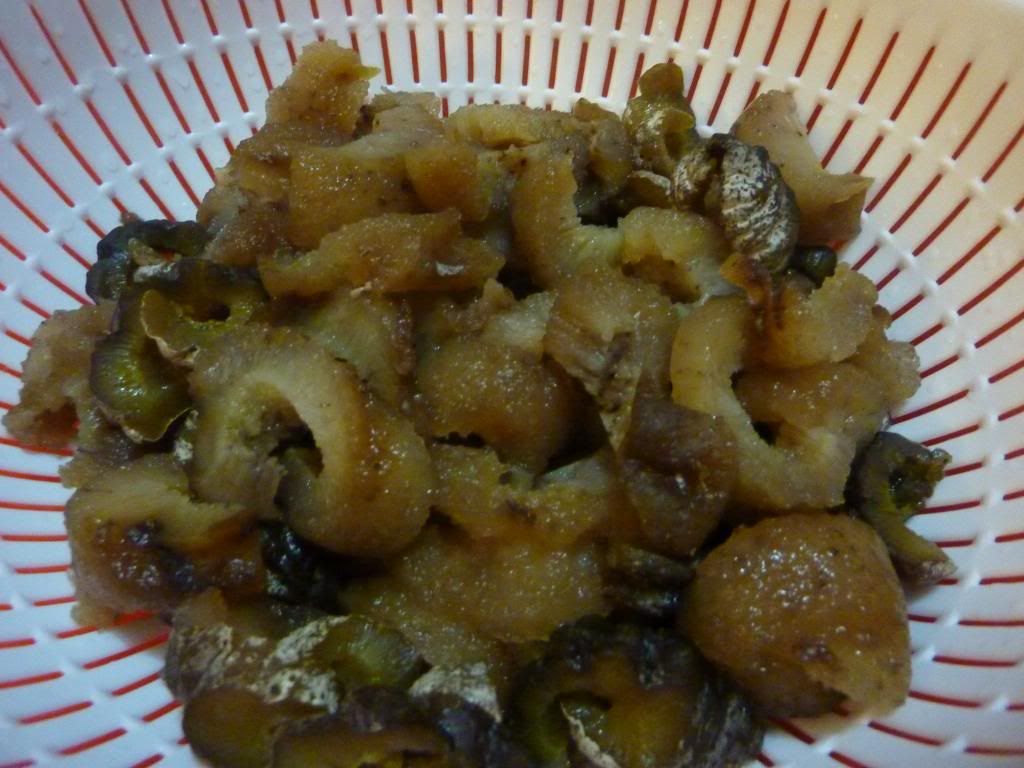
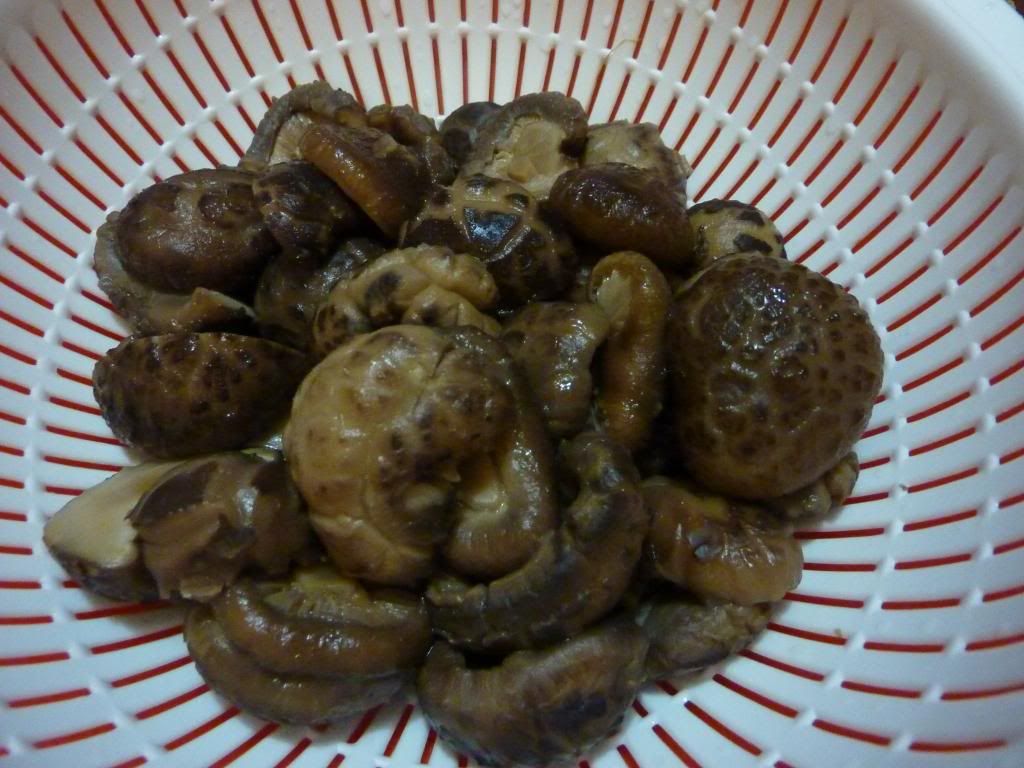
Braised Abalone, Sea Cucumber and Mushroom

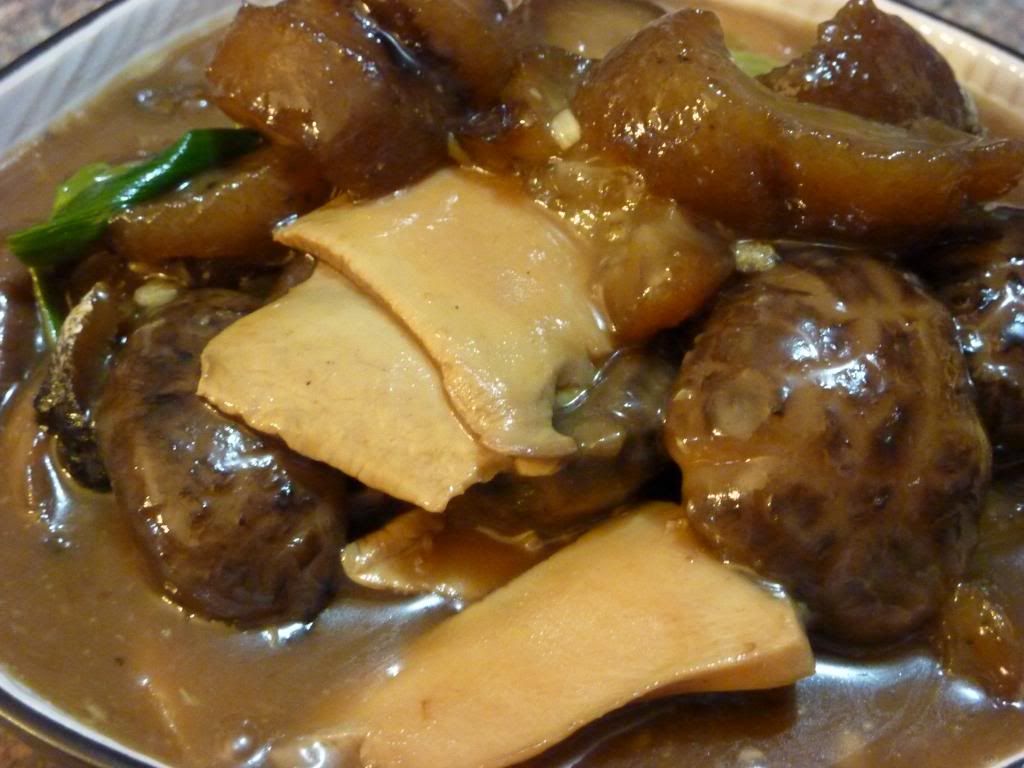
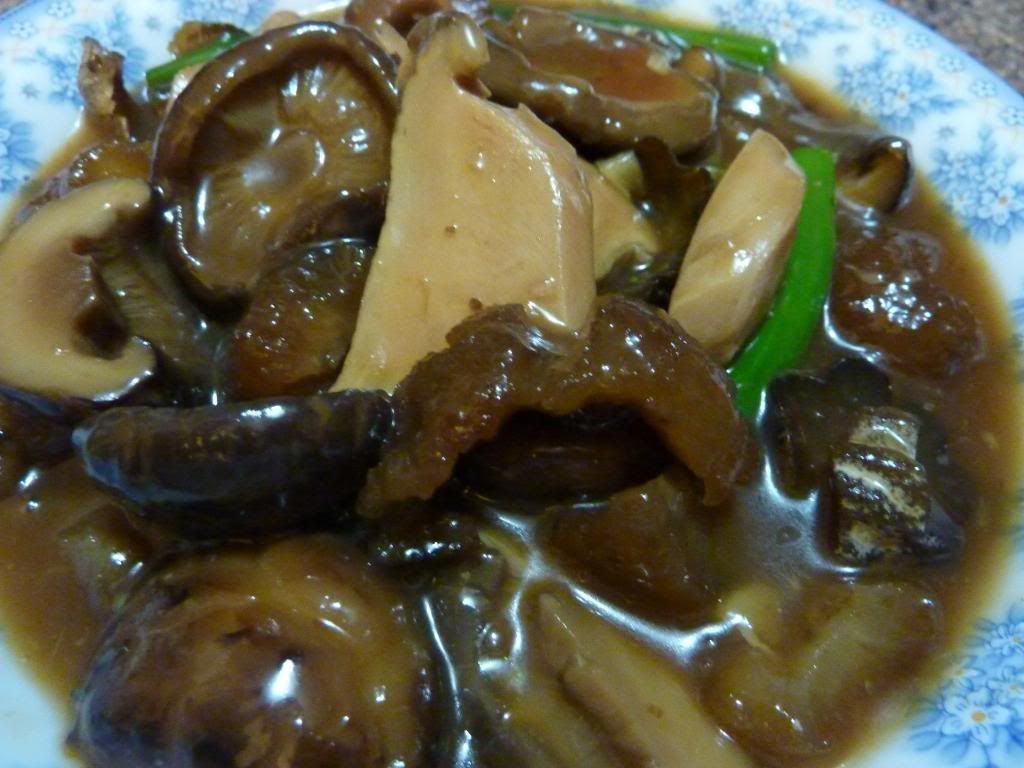
Hello everyone.  I've been away for a while but I'm back now.  Life is crazy busy with my two kids!  Lately I'm interested in buying and making sea cucumber (hoi sam).  I didn't measure my ingredients for this dish since I'm just testing my cooking.  My parents cook sea cucumber numerous times but I've never bother to learn how to clean or cook it.  But now I have my own family I'm getting more interest in cooking this dish.  It's a lot of work to rehydrate and clean the dried sea cucumber.  I've ordered some more dried sea cucumber so I will post how to rehydrate later.  I will also make this again later and include the recipe when I get more sea cucumbers.  For now, I'm just happy I'm back!


Sunday, February 12, 2012

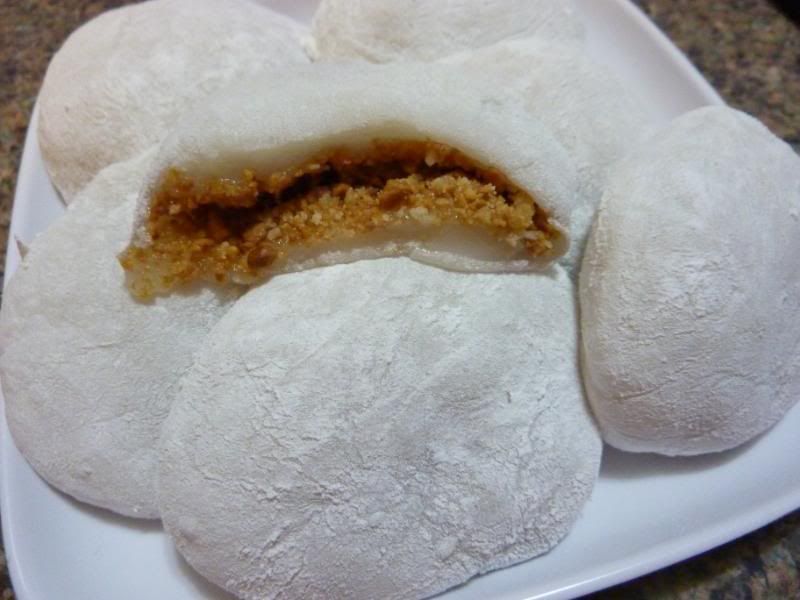
Black Sesame and Peanut Mochi

I love Mochi!!! I love how it's soft, chewy, and sweet. I love black sesame and peanut mochi the most. Back when I was 12 or 14 year old, there was this old lady who would carry these mochi to sell early in the morning. It was $1 for 3 pieces or maybe 4. It was so good I could not forget the taste of the soft and chewy mochi. Not long later my family moved...so no more black sesame and peanut mochi. I've eating mochi from the supermarkets and some from relatives but none the same as the one from that old lady. So I was searching for a recipe and finally found a recipe for the mochi skin. It was very similar to the one the old lady made. I just had to create the fillings since there is no recipe for that. Well, here it is! It's just so very yummy. Remind me of old time....a very good feeling.


Saturday, January 14, 2012

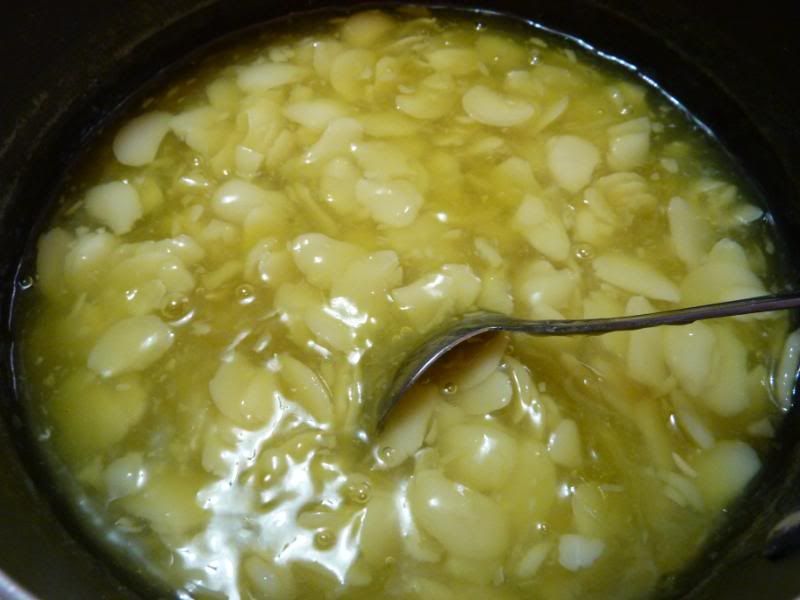
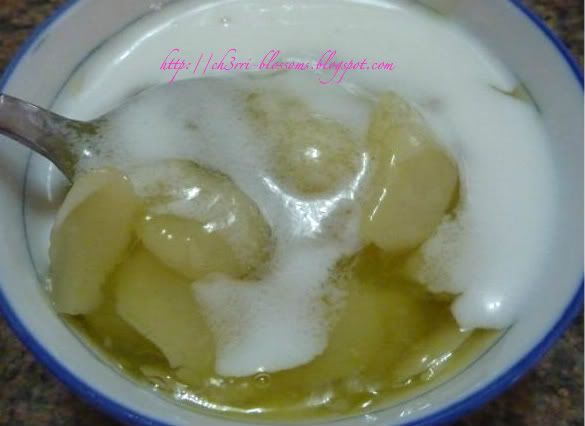
Lima Bean Dessert (Che dau Van)

Che dau van is another good Vietnamese dessert that my family loves to eat. However, the hard part is removing the skin of the beans before cooking. The original bean being used is the hyacinth bean. To try something new, I used the large lima beans instead. The taste is very similar to the hyacinth bean. It's also easier to peel the skin of the large lima beans.


Ingredients:

1 bag of large lima beans
1 bag of rock sugar or use regular sugar
1- 1 1/2 cup tapioca starch
2.5 quart water
2 cans coconut milk

Method:
1. Follow the instruction on how to fast soak the lima beans. Boil a pot of water and pour the beans in to boil for a coupon minutes on high and then turn it lower for a couple more minutes and then turn off heat. Cover the beans and let it soak for couple hours. Remove the skin afterward.

2. Boil 2.5 quart of water and then add in the lima beans and cook on low until bean soften but not crumbly.

3. Add in the sugar and taste. Then add in yellow coloring.

4. Mix the cornstarch with just enough water and slowly pour into the beans. Stir while pouring. Turn off heat when mixture is thicken. Do not over cook your beans or they will break in small pieces.

5. Now cook the coconut milk and sugar to taste with a dash of salt. Add in a little cornstarch mixture to thicken coconut milk. I usually add 3 tbsp sugar per can of coconut milk and 1-2 tbsp of cornstarch.

6. Serve hot or cold.

Thursday, December 29, 2011

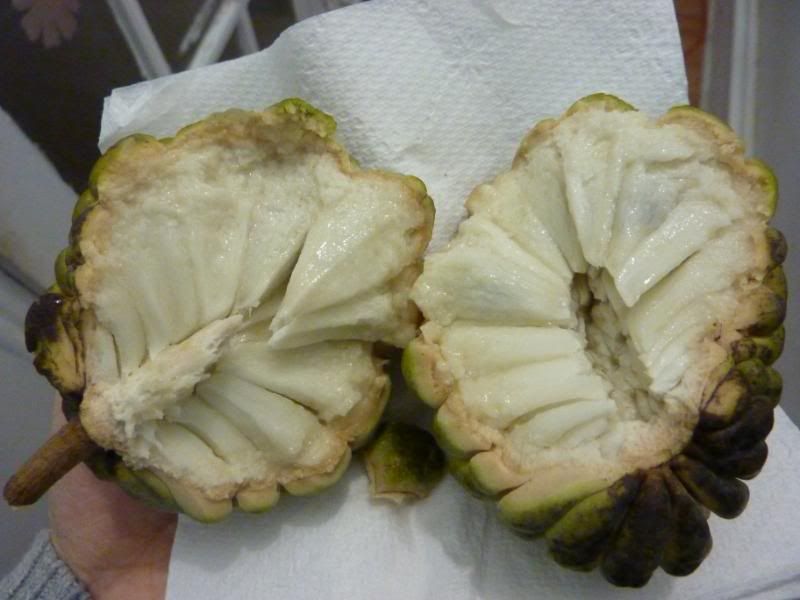
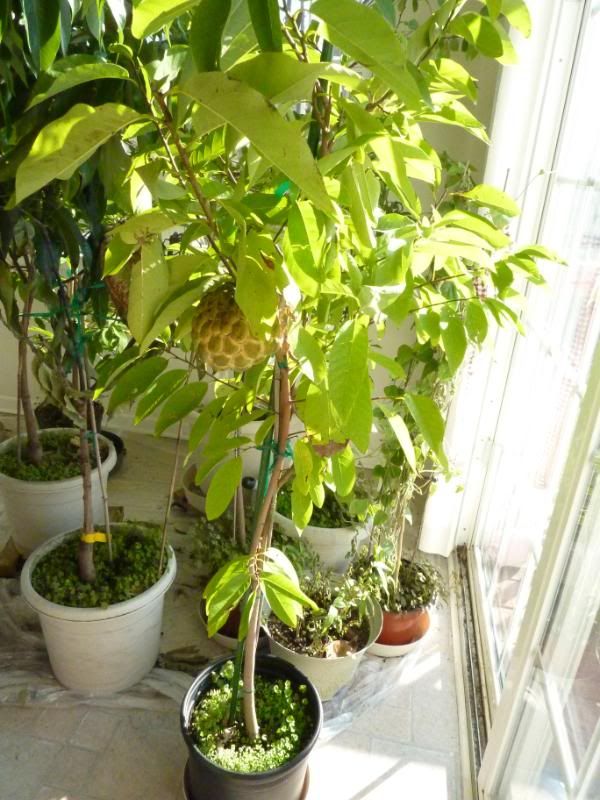
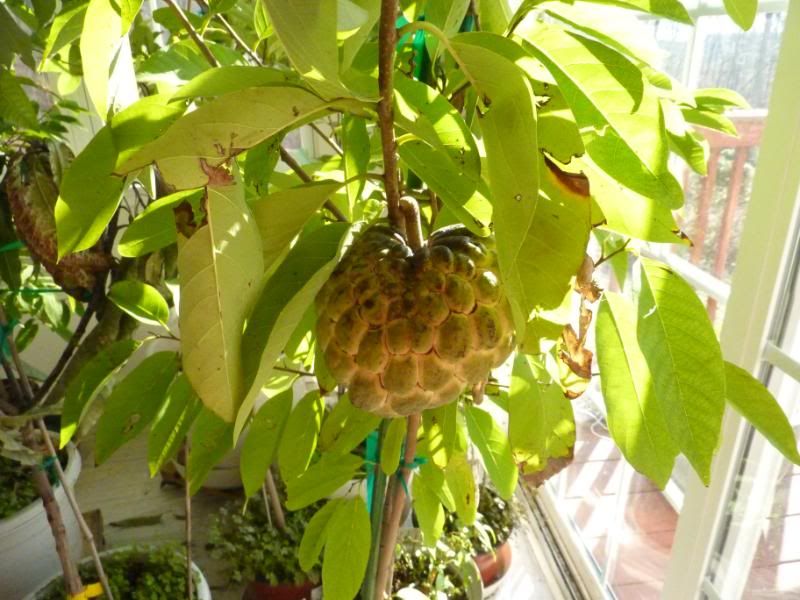
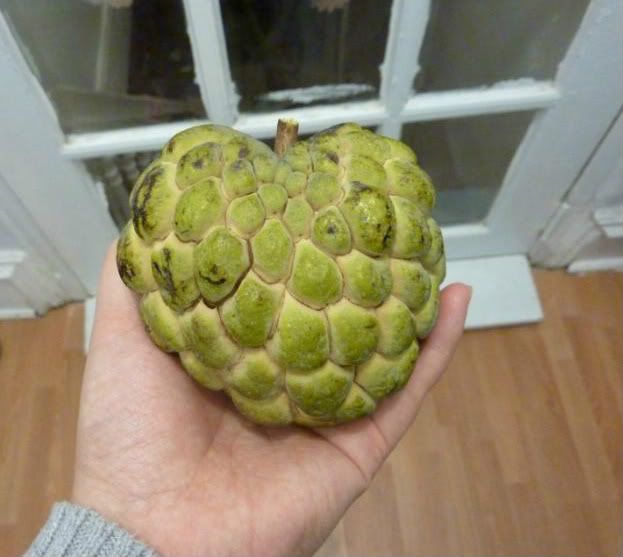
My Christmas Present- Sugar Apple (Man Cau)

This year I got a yummy Christmas present, home grown sugar apple. I planted this sugar apple from seed 2-3 years ago and this year it fruited for me. The fruit ripen on Christmas day. This is a Vietnam variety. I was surprised by the size of the fruit. It was 10.7 oz and very tasty. This is the chewy type...which I love most. Mom and dad got a piece of it and they were like wow. :))


Monday, December 5, 2011

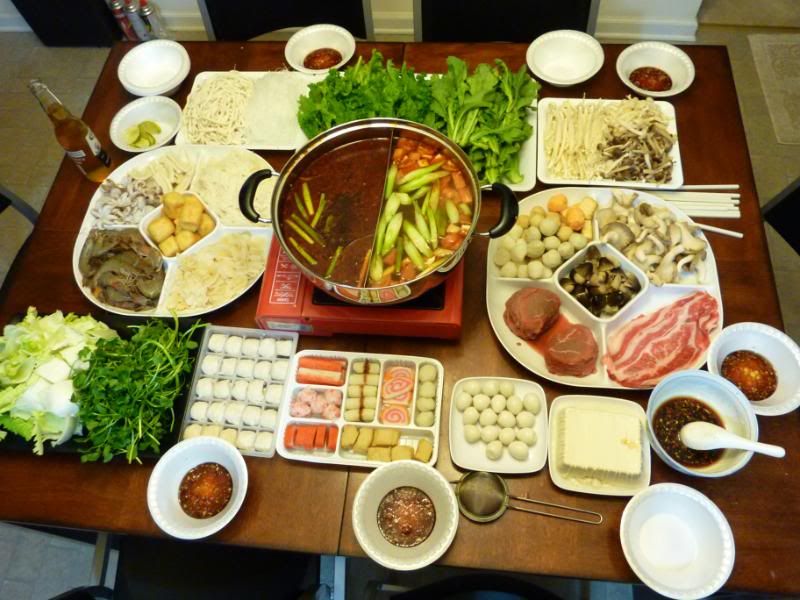
Hot Pot Time!!!

The weather is getting cold and hot pot is the best. I'm missing it already....yum yum yum....


Thursday, October 27, 2011

Sesame Tang Yuan (Sesame Dumplings)

I was craving for some sesame tang yuan but the frozen one always leaks so I decided to make my own. First time making this and it's good. The only thing I would change is instead of using lard I should use butter. I think lard doesn't smell that good compared to butter. I also should make the tang yuan a little smaller....guess I was too greedy...hehehe.


Ingredients:

1/4 cup black sesame
1/4 cup sugar
1/2 stick of unsalted butter
1 1/2 cup glutinous rice flour
water

Syrup water- boil slap sugar and water. Add ginger if you like.


Method:

1. Clean the sesame by rinsing it over water. Add the sesame in the heated pan and stir continuously until roasted.
2. In a grinder, grind the sesame into power. Back to the pan and add in the butter, sesame power, sugar and stir them together. If it's too dry then add in more butter. Remove from heat and let cool.
3. Form the sesame into small balls and refrigerate.
4. Add water to the glutinous rice flour to form a dough. Add little at a time to prevent over watering.
5. Using the dough to wrap the sesame balls. Drop them into boiling water and then turn the heat lower to prevent dumplings from opening. They're done when float to the top...best if keep in for another 1-2 minutes.
6. Drain the dumplings and serve with syrup water.