Sunday, September 13, 2009

Garden Update September

I have been so busy with work, wedding, and dieting that I have no time to cook anything new. So I decided to share more pictures of my garden. Very excited that I might get more than one fruit this year....Lol.

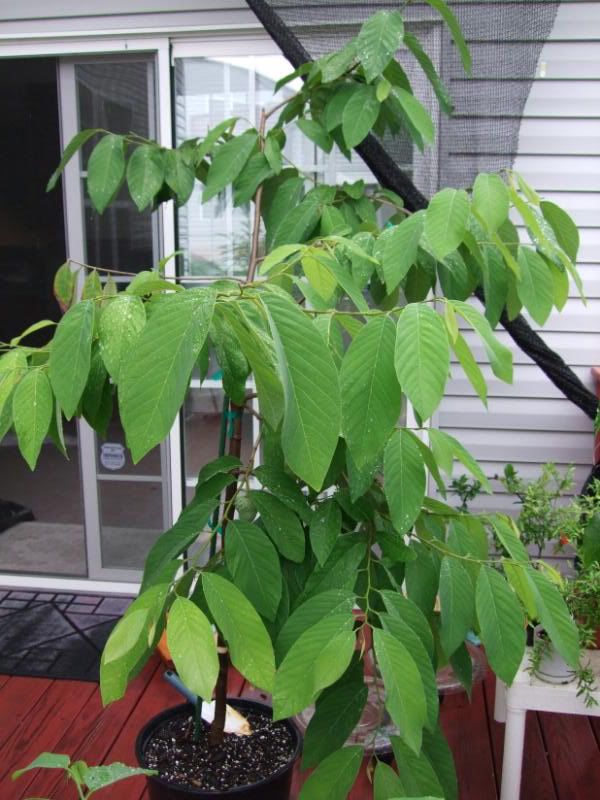
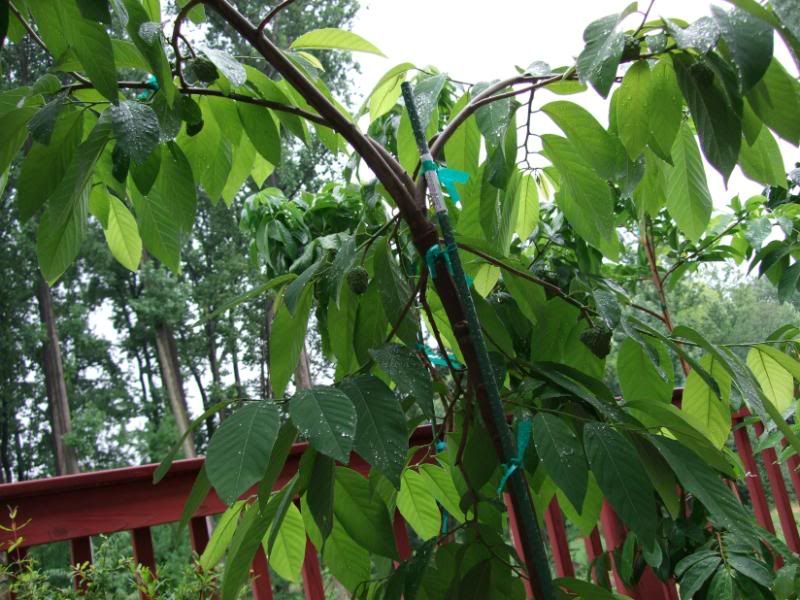
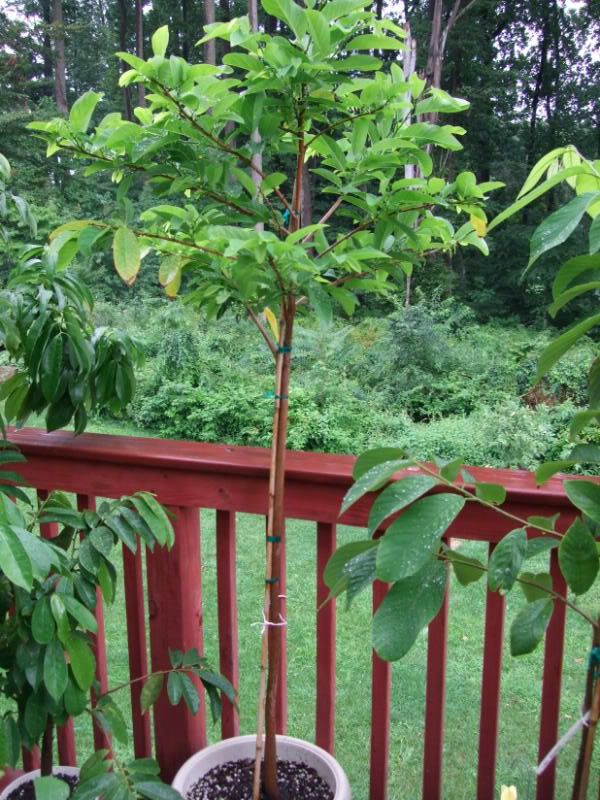
This year there are 10 Priestly atemoya on the tree. All are growing larger but still growing very slowly. I think I will have to wait until December to eat them...if they don't fall off before then. :)


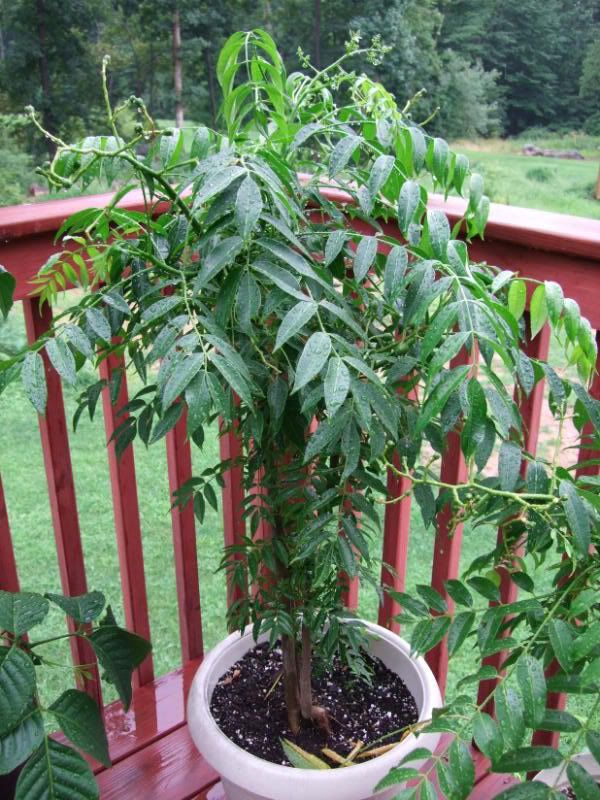
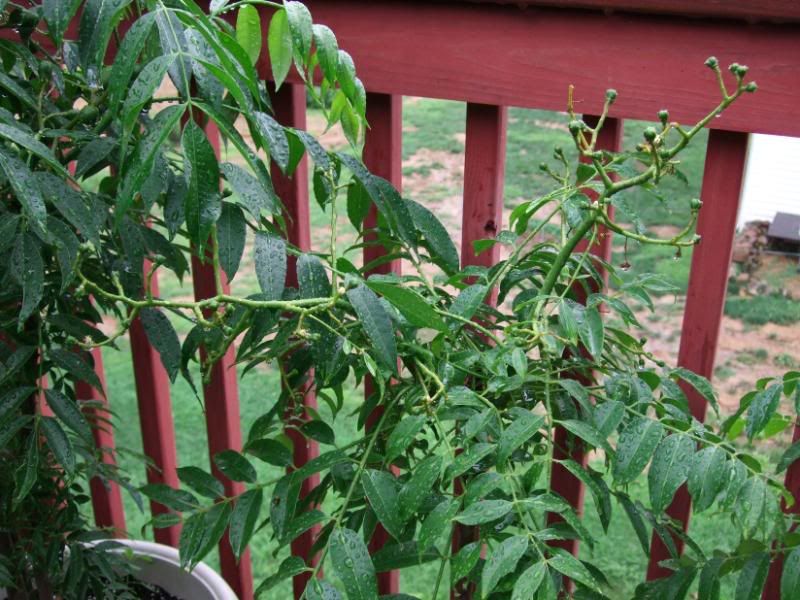
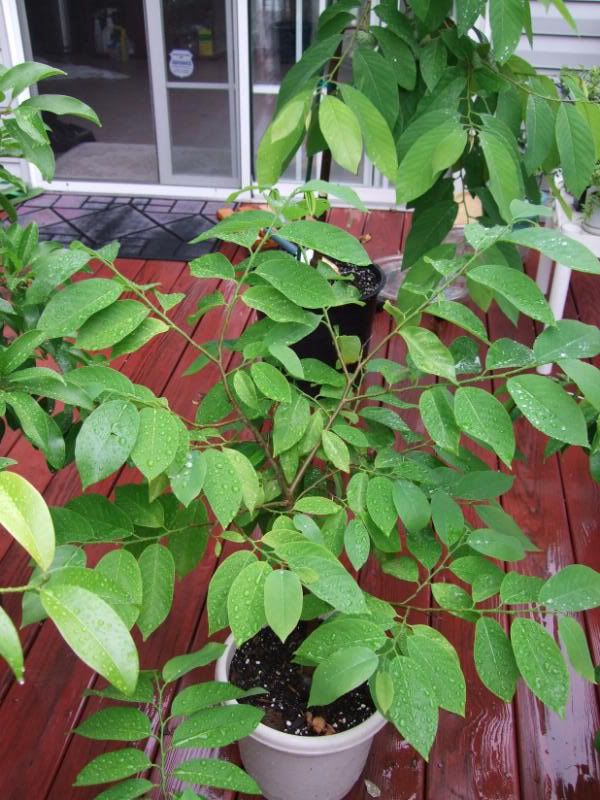
My dwarf june plum planted from seeds. This is the second year so the fruits are a lot larger than the one from last year. Maybe I can eat them this time. Last year was only for look since the fruits were like nickle size. That tree die afterward. So it's better not to let the tree fruit the first year. :)


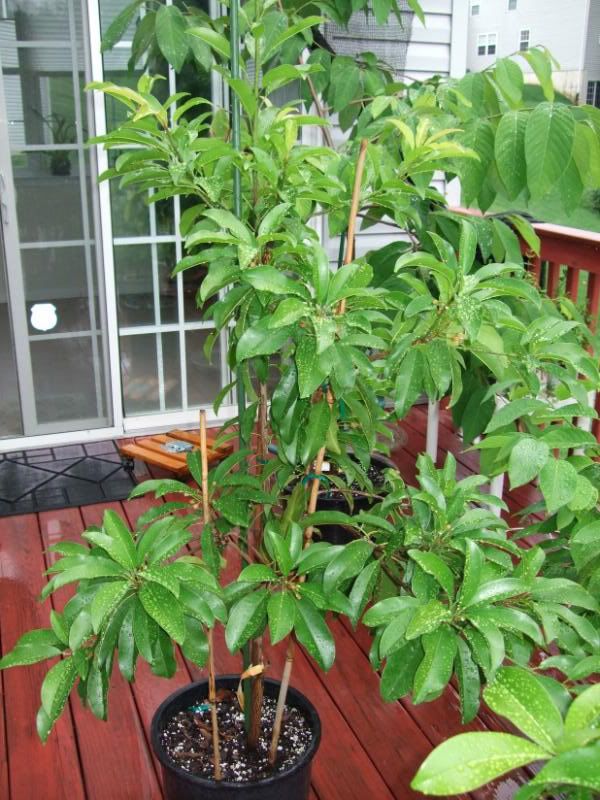
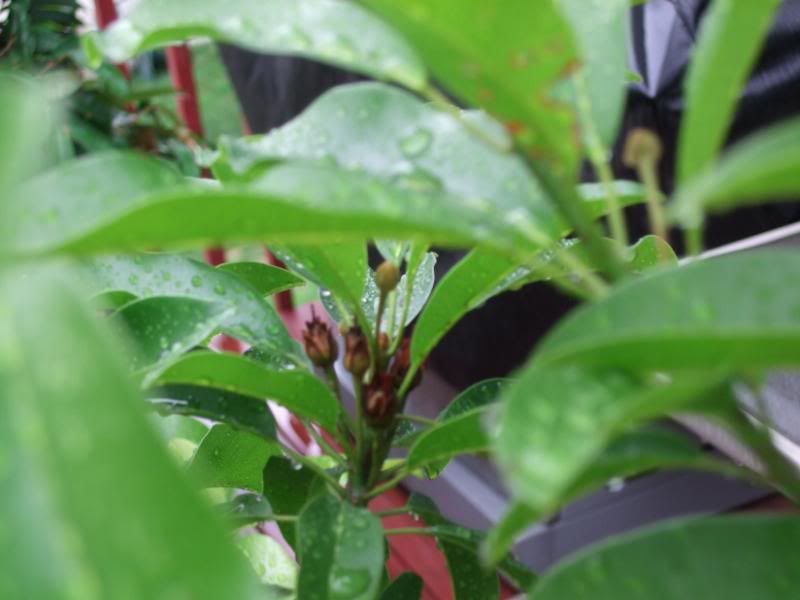
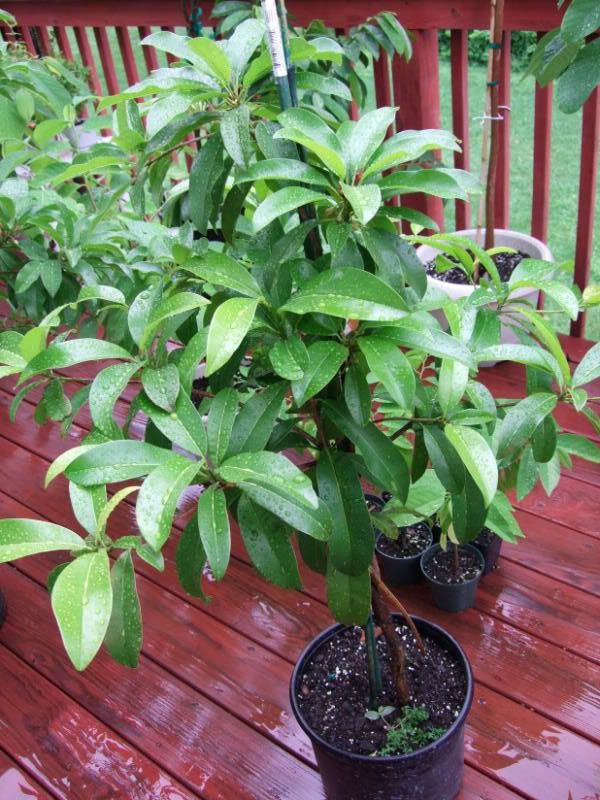
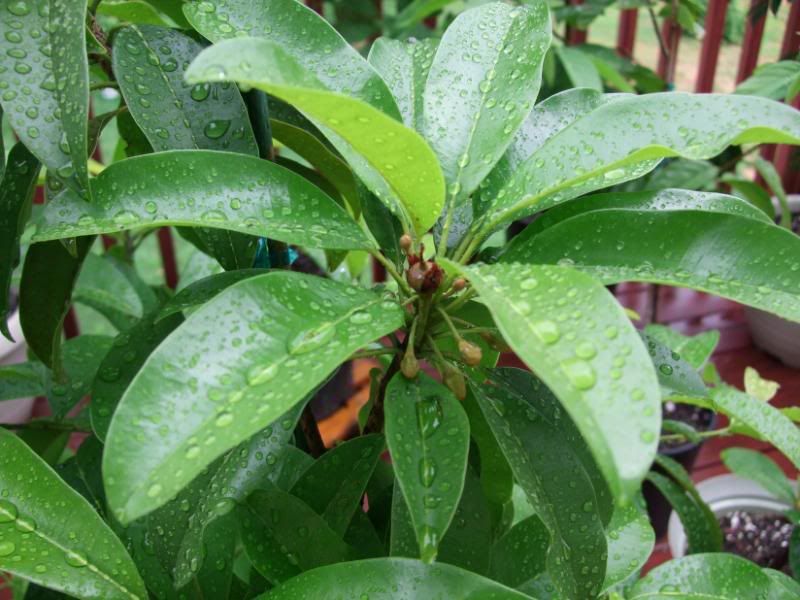
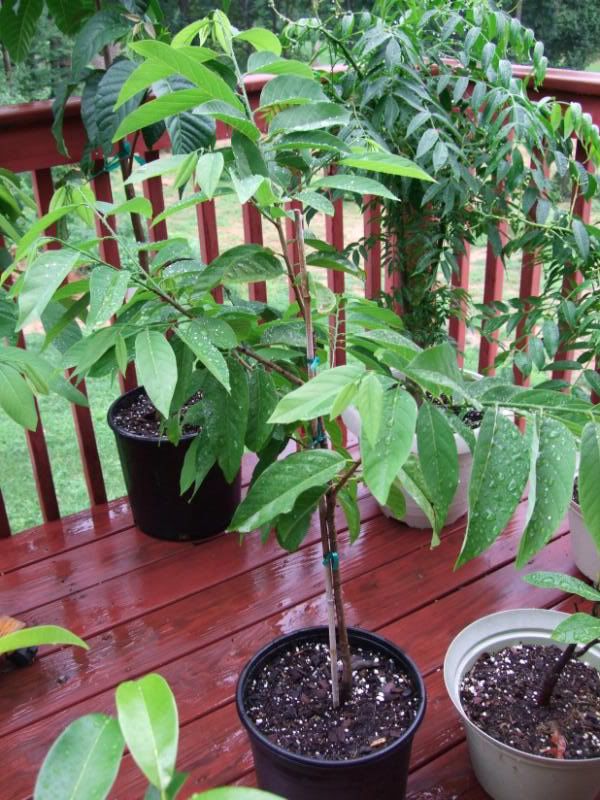
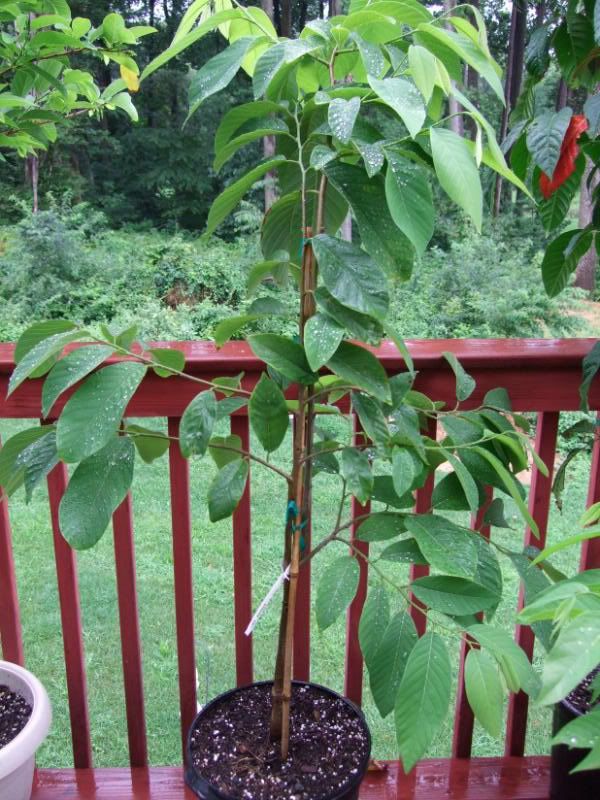
I have 2 sapodilla trees (hasya and makok). Both have tons of flowers and fruits on it. I didn't even pollinate them. I did saw a lot of tiny flies and bees around the trees. The hasya is faster growing than the makok. The hasya is over 5 ft tall already so I pruned the tip off to let it branch out.
makok

Hasya

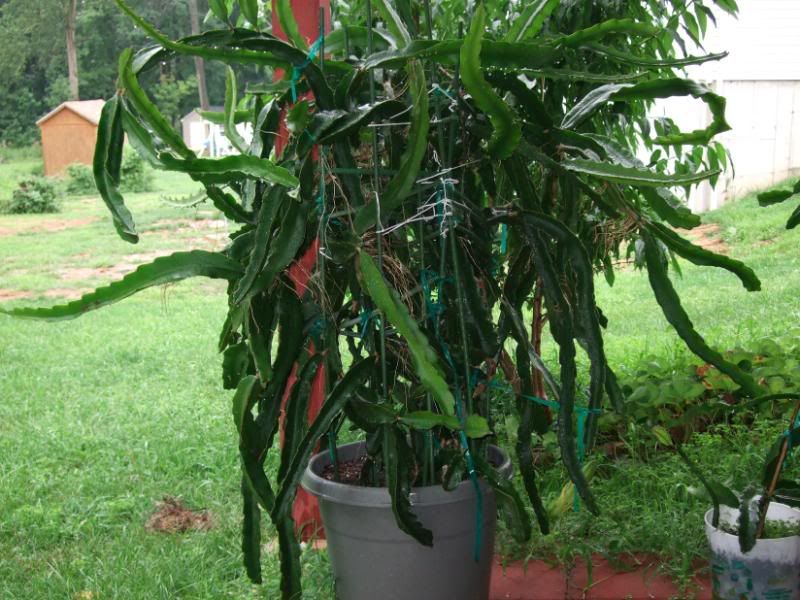
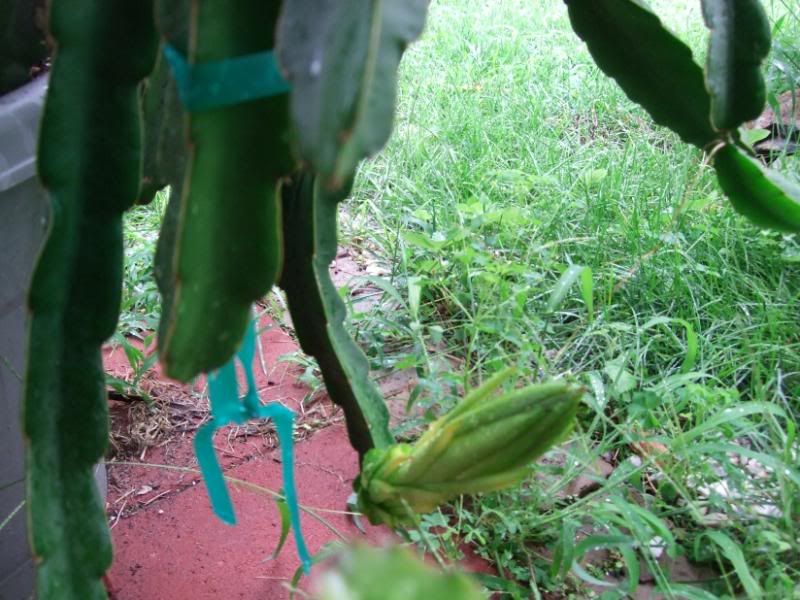
This year was a surprise with the dragon fruit. Not sure if it's because of the fertilizer I used or just because it's old and heavy to bud. There are at least 7 flower buds for my magenta dragon fruit. Some did fell off before I get a picture of it. Hopefully I will get to try my dragon fruit this year. :)


First time for the yellow dragon fruit to flower. As you can see it is different than the magenta one. There is only one flower so not sure how it will pollinate. :(


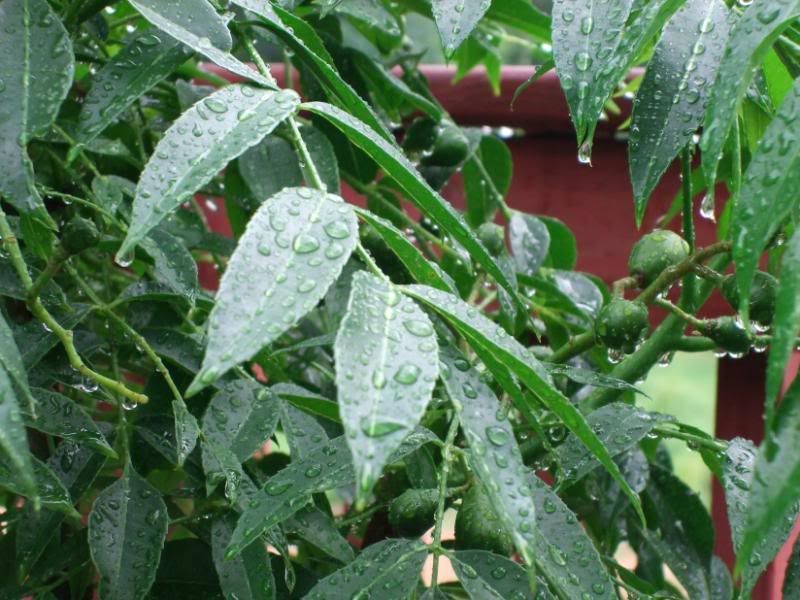
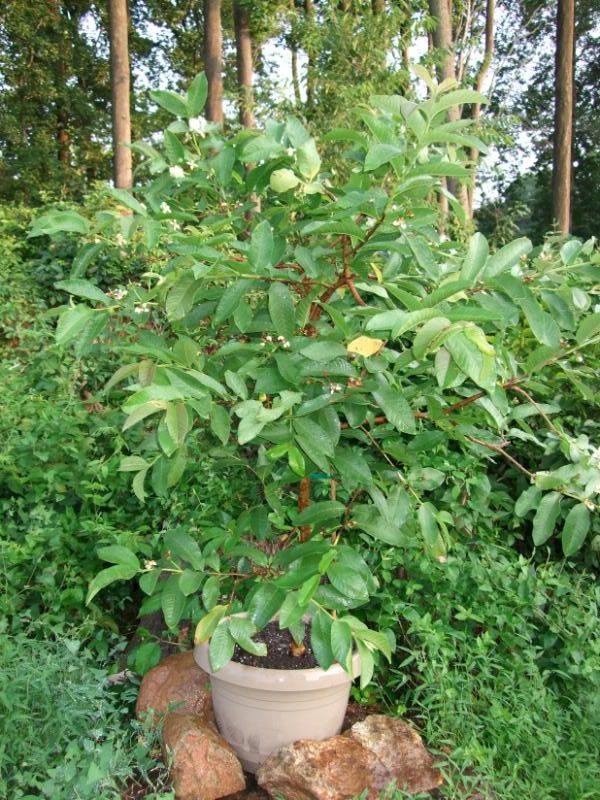
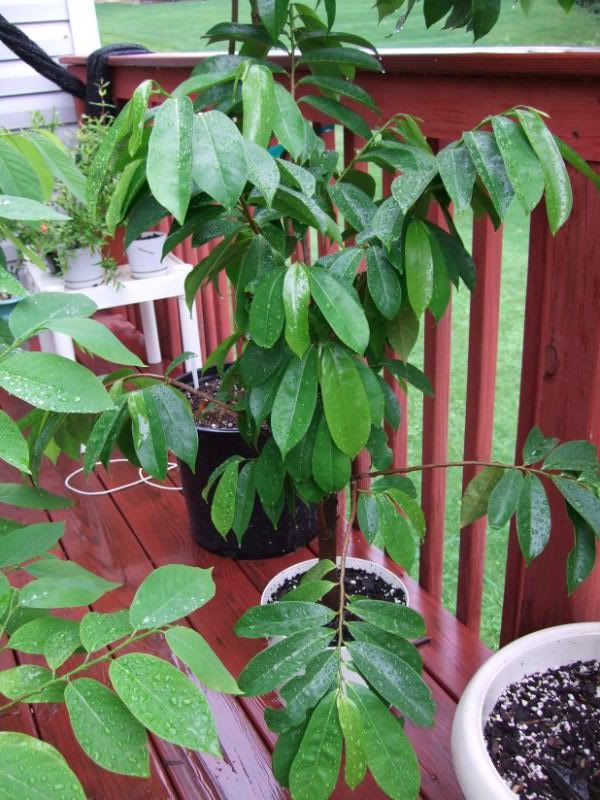
There are a lot of fruits on my guava tree. The first and second year was not that good. The fruits were small and tasteless. The tree seem to be happy this year plus I placed the pot out in the yard where it gets full day of sun. I also changed the pot to a 20 liter pot.


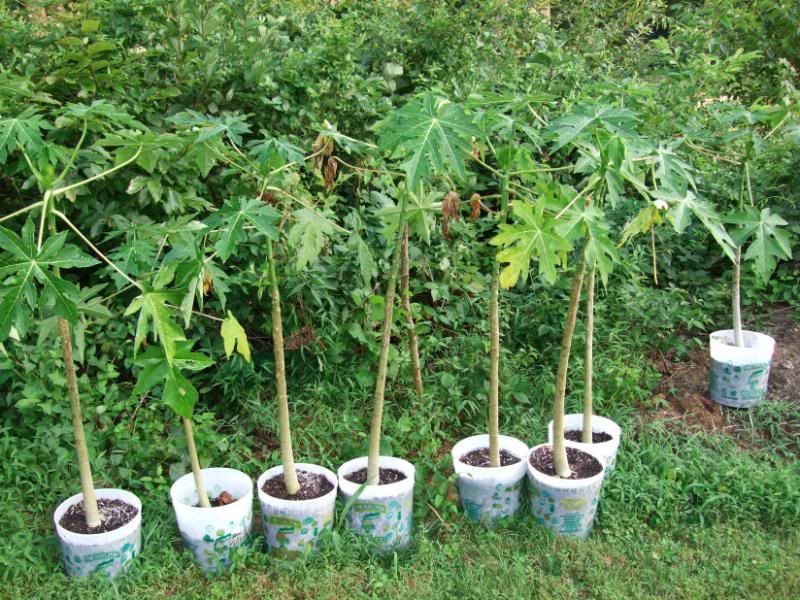
Papaya are doing great..except they kept on being knocked over by the wind. :(

Here are my Bonfire dwarf peach trees. This tree was bought for it's dwarf size and because of it's red leaves. Also, the flowers are a beauty on the naked tree in the spring. This year fruits are larger! However, the darn squirrel stole most of them. I need to order some pepper spray or net to keep the squirrel away next year. Just pruned the tree today.


This peach tree is less than 3 ft with edible peaches...lol


This is an Asian melon (dua gia). It tastes like cantaloupe and honeydew without the sugar. Since this melon is not so sweet you add sugar and ice to it. Not sure what is going on but this plant is dying. There are some white powder stuff on the plant. It could be of a disease of because of the cold nights we had lately. There are 5 large melons. I think one might be ready to eat...hehe :)


Going to eat this one soon...lol

Edible elephant ears.

I ordered this plant 2 years ago and thought it was dead since I planted on a snowy day. Since it was just leaves and branches for 2 years I couldn't remember what kind of plant it was. But good thing it bloomed this year and the flowers are beautiful. This is a hydrangea. Thought it was white but some flowers are pink. I remembered I ordered a blue....hmmmm.. I think maybe if I stick some nails in the ground it might change the acid of the soil and the flowers will turn blue.

Wednesday, August 26, 2009

Fresh Pennywort Drink (Rau Ma)

This drink was made out of the pennywort that I planted a couple months ago. So refreshing and healthy!!!

Medicinal uses: Pennywort is used for purifying the blood and curing nervous conditions and is said to be 'good for the eyes'. It is also one of the herbs used in tonics to improve the memory. Eating 2 leaves each day is said to relieve the pain of arthritis and it is sold in plant nurseries as 'the arthritis herb'.

This drink also have a cooling effect on the body and great for the skin.


Ingredients:

Fresh pennywort (use enough to fill two blender)
3 bottle of cold water (60 oz)
9 tablespoon sugar


Methods:

1. Wash the pennywort and rinse it many times to get rid of the dirt. If the pennywort is too long then cut it shorter. Use every part of it except the roots.
2. Fill the blender with pennywort and 1 1/2 bottle of water. Blend it until it's smooth.
3. Strain the drink and place the blended leaves back into blender. Now fill the rest of the pennywort in to the blender and add in another 1 1/2 bottle of water. Blend it well.
4. Strain the drink mixture. Using your hand to squeeze out the liquid from the pennywort.
5. Strain again a second time and place some of the drink into a clean blender and add in 9 tablespoon sugar. Blend it until sugar dissolved.
6. Now mix the two liquid together stir to even out the flavor.
7. Serve as it is or with some ice. Refrigerate the left over.

Note: you can add as much pennywort as you want to make the drink more concentrated.

Thursday, August 13, 2009

August Tropicals Update

Ok...here is an update of my tropical fruit trees. I'm pretty happy this year as all my trees are doing well. They are growing fast and some are fruiting as well.

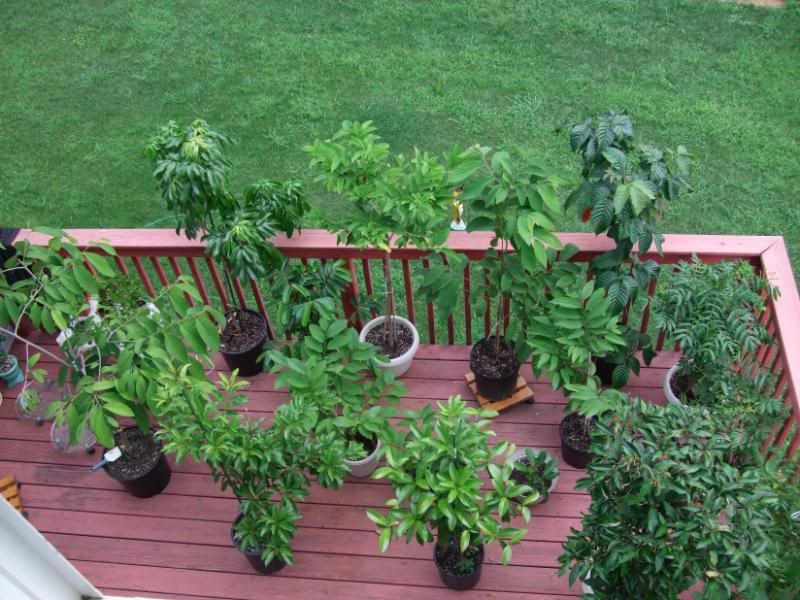
From second floor window looking down.


Priestly atemoya

About 10 fruits on atemoya tree.

Hasya sapodilla

Some fruits on Hasya sapodilla

Dwarf june plum

June plum with some fruits

Another dwarf june plum

Makok sapodilla

One big fruit on Makok

Sweetheart lychee more leaves

Guava with lots of flowers

Lots of fruits

Sugar apple from seed 2+ yrs old. Now have lots of flowers but I have to pinch them off so it can grow larger.

Thai Lessard sugar apple

Caimito fruit tree (purple)

48-26 atemoya

Santol

Seed grown atemoya

Soursop growing more leaves

Mix of magenta, yellow, white dragon fruit

One flower on dragon fruit

Seed grown papaya from 08

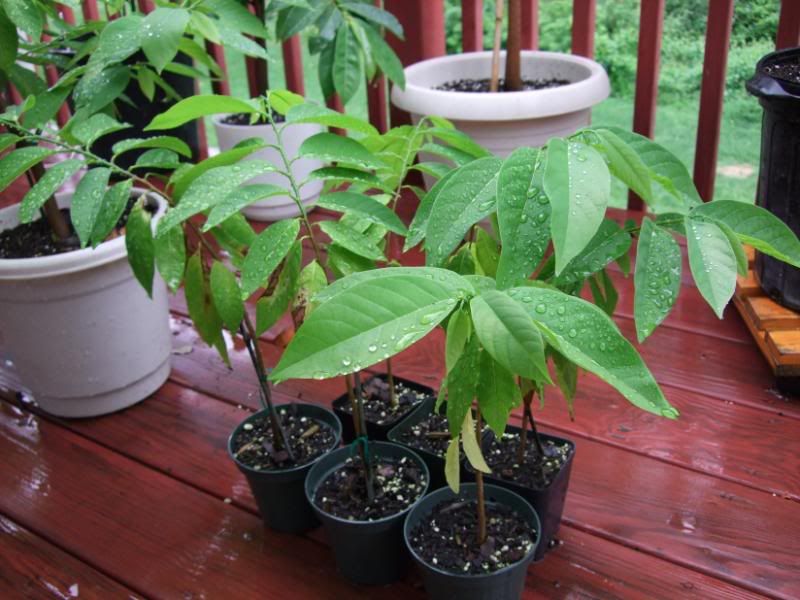
Seed grown sugar apple 9/08

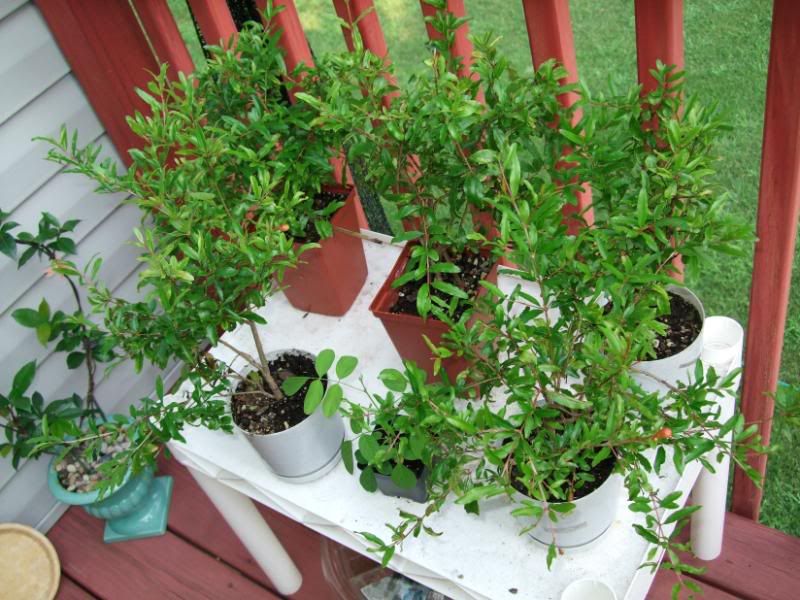
Dwarf pomegranate

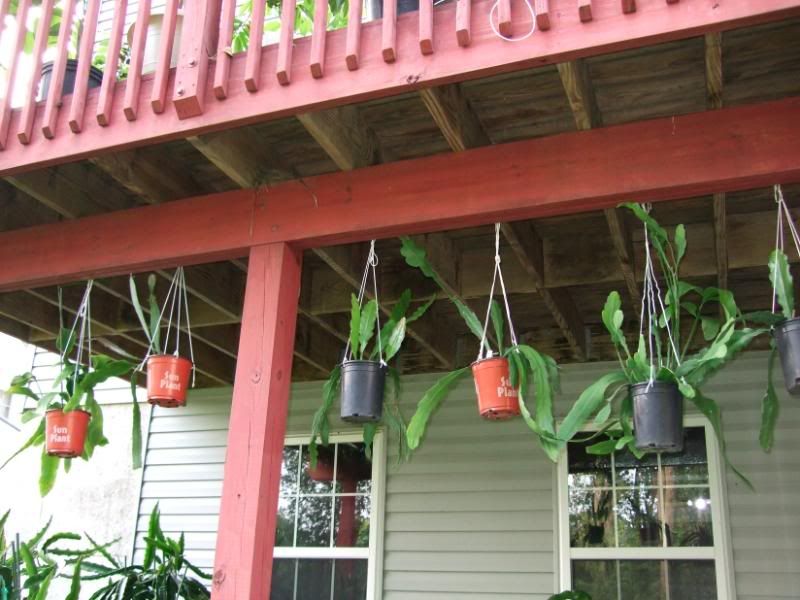
Mix of cactus flowers

Tuesday, August 4, 2009

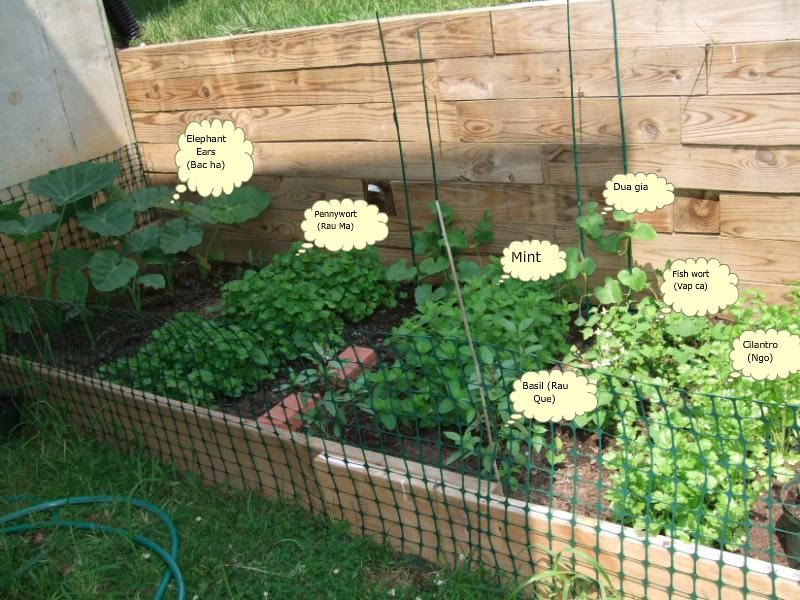
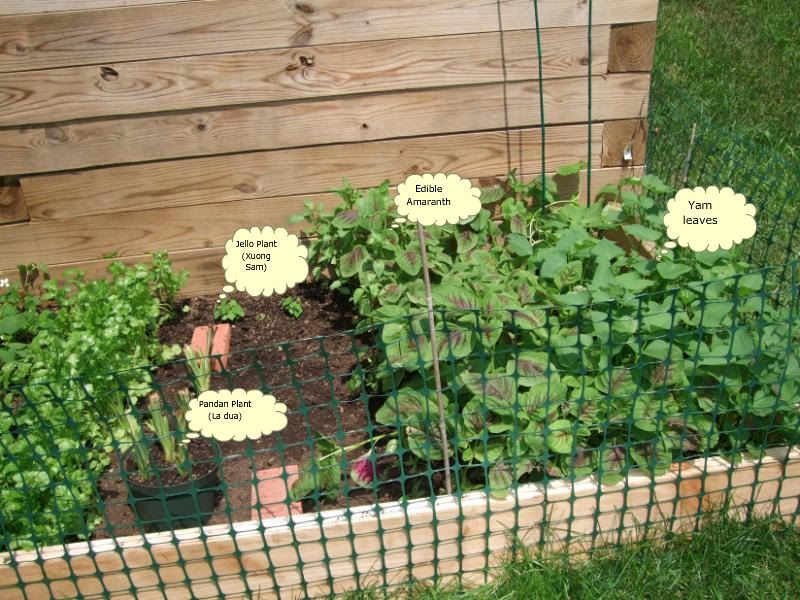
Vietnamese Veggies and Herbs

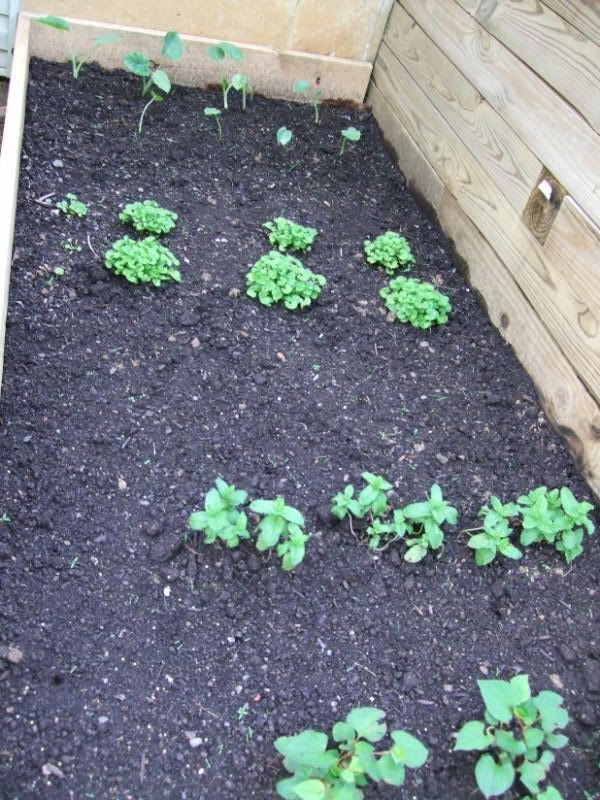
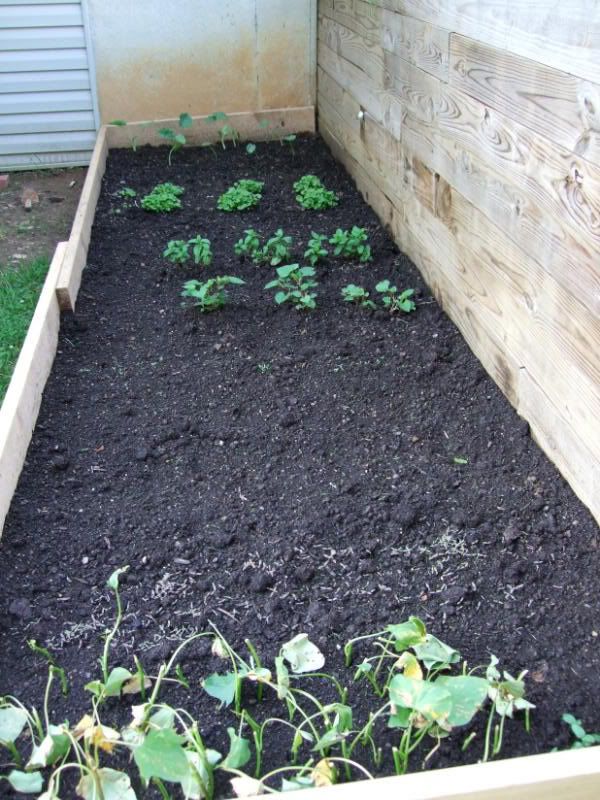
Sorry I have not been posting recipe lately.....that's because I'm on a diet preparing for my coming wedding in October. So stressful!!! Anyway...this year I have an interest in planting rare vegetables and herbs. So we built an small area in the back and planted some hard to find edibles. Actually, you can buy the veggies and herbs at the store...but of course they're not cheap anymore. I'm thinking maybe I can sell some of these rare things next year so people who want to plant them in the US can do so....and a way to support me getting more tropicals...hehehe

This is how it looks like after a month or so.


This is how they look like when I planted them in June.


Some of the seeds grew shortly after a week or two weeks in June. The yam leaves were from the supermarket. The bottom was too hard to eat so I planted them. After a month or so you can have more yam leaves to eat. Just harvested some yesterday and they were looking good.

Friday, July 17, 2009

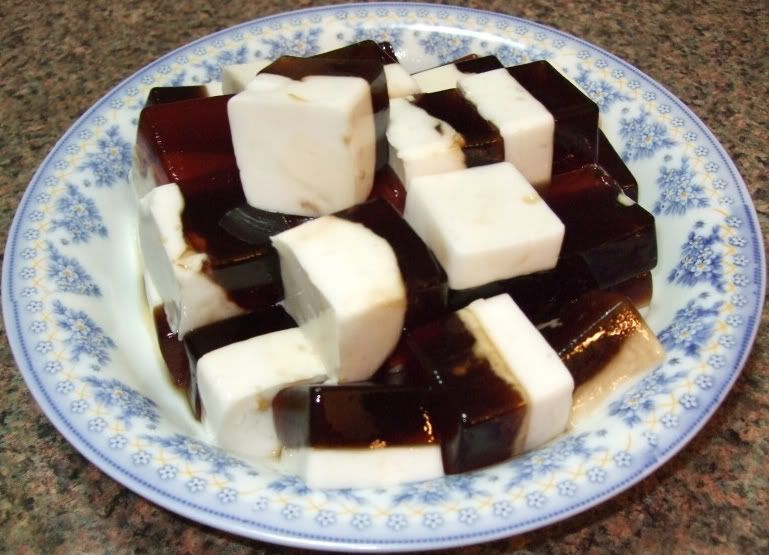
Coffee Coconut Tofu Jelly

These jelly taste so good! It's soft as the tofu fah dessert. So smooth, it slip down your throat in seconds. I feel like I'm in heaven when eating this. The taste of coffee and coconut so good together. I used the silicone ice tray mold for these delicious cubes.


Coffee Layer:

2 tsp instant coffee
1/4 cup + 1 tbsp sugar
1 tsp konnyaku jelly powder
2 cups water

Boil water and add in the sugar. Then add in the coffee. Stir well and taste. Add more sugar if you want sweeter. Now slowly add in the konnyaku jelly powder. Stir until powder dissolve. Then pour in mold. Let it cool.


Coconut Layer:

1 can coconut milk
1 cup water
1/4 cup + 3 tbsp sugar
1 1/2 tsp konnyaku jelly powder

Boil coconut milk, water, and sugar. Careful not to let it over boil or it will spill. Now slowly add in the konnyaku jelly powder. Stir until dissolve. Now pour over somewhat harden coffee layer. Let cool and place in refrigerator. Serve cold.


Tips: Place mold in ice water bath to cool jelly faster. If you want a firmer more crunchy jelly then add more konnyaku power.

Thursday, July 9, 2009

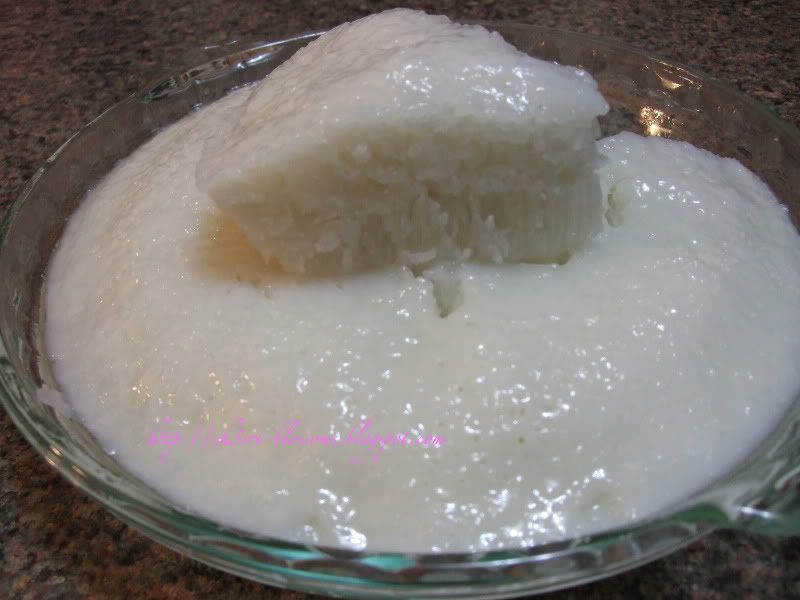
Pak Thong Koh (Steamed Rice Cake)

Since a few of you requested for this recipe, I decided to make it again. It will take a few days of fermenting but it's very easy to make. This taste better than the one at the supermarket since it's not overly sweet. This recipe came from Auntyyochana. I modified it a little to fit my taste. If you do this right you should get lots of honeycombs in the cake. :)


Step 1: Starter Dough

100 gm cooked rice (cooled)
1/2 tbsp ragi (chinese yeast ball pound into powder)
1 tsp sugar
1/2 - 1 tbsp water

Mix everything together and let it ferment for 2 to 3 days (48 hrs). The rice should be soften bye then.

Step 2: Kuih Dough

60 gm of starter dough
100 gm rice flour
some water about 1/3 cup

Mix everything together to form a dough. The dough should not be too wet or too dry. It should be paste like. Let it ferment for a day or 18 hrs.

Step 3: Flour Mix

220 gm rice flour
30 gm tapioca starch (add a little more if you want cake to be more springy. I used 40gm)
280 ml water

Mix everything together until smooth and set aside.

Step 4: Sugar + Flour Mix

180 gm sugar
400 ml water
3-4 blades pandan leaves tied in knots

1. Bring this mixture to boil and remove the pandan leaves afterward.
2. Pour half of this into the flour mixture and stir. Let the other half of the sugar mixture to cool for about 2 minutes before pouring it in the flour mixture.

Step 5:

Measure out 80 gm kuih dough and mix it in the cooled sugar flour mixture.

Mix well and let it ferment a day or just 14 hrs. Best way to tell if the mixture is ready or not is to gently stir the mixture to see if there are bubbles coming up or not. Usually when it's ready you will see tiny bubbles.

Step 6:

1/4 tsp lye water
1 tsp water

Add lye water and oil in the flour mixture and stir well.

Heat water for steaming. Grease a 10" pan and heat up for 1 minute before pouring the flour mixture in. Remember to give the flour mixture a good stir before pouring in pan.

Steam in medium heat for 20-30 minutes until done. Leave cake to cool a little before cutting. The cake taste better when it's cooled...but warm is still good since it's softer.

Tuesday, July 7, 2009

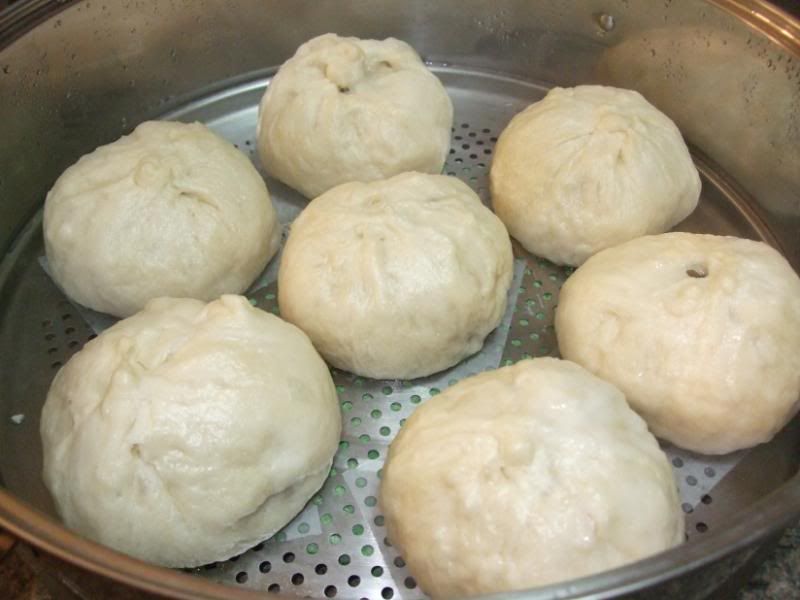
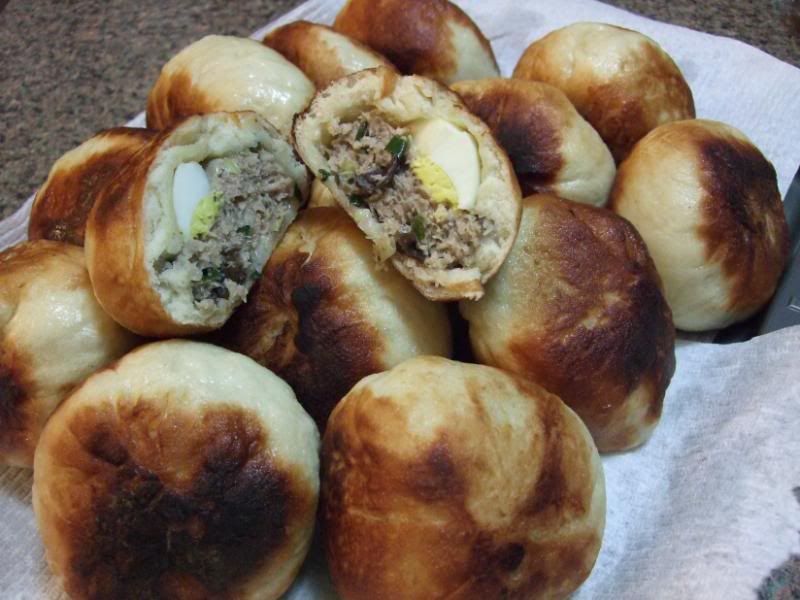
Steamed or Fried Pork Buns

So I made some pork buns this weekend for my brother to bring to PennState. Made everything from scratch including the dough. The dough turned out pretty well. Next time I'm going to try making with ragi yeast instead. Maybe the dough will turn out whiter. Same as last time it is better to fry the buns afterward.


Dough: for 28 Large Buns

6 cups all purpose flour
2 cups self-rising flour
4 tsp baking powder
1 bag 12 oz dry yeast +1 cup warm water microwave 30 seconds + 1 tbsp sugar
1 cup water
1.5 cup sugar
3 tbsp oil or lard

1. Mix all four, sugar, baking powder together.
2. Add in yeast mixture to flour and then add in the another 1 cup water. Knead the dough for 15 minutes until smooth. If dough too dry then add in some more water.
3. Add in oil and knead for another minute.
4. Cover dough and leave in oven with light on for 30 minutes or 1 hr until dough double.

Fillings:

2 lbs 10 oz ground pork
135 gm chives chopped
400 gm cabbage chopped + 1 tsp salt and squeeze out water
35-40 gm dry fungus (boil and chopped in small pieces)
2 bundle vermicelli noodle soaked and chop 3 times to shorten
7 eggs boiled and 1 into 4
3-4 pieces of chinese sausage cut into 28 cubes

Seasoning:

1 tbsp fish sauce
1.5 tsp salt
2 tbsp sugar
1/2 tsp msg
3 tbsp oyster sauce
1/2 tsp ground pepper
3 tbsp oil
4 tbsp cornstarch
1/2 cup water

1. Mix seasoning with ground pork and mix well.
2. Add in cabbage and then chives and then fungus and vermicelli. Incorporate the ingredients evenly. (Try to taste the meat and see if need more seasoning or not.)


Method:

1. Cut out wax paper 28 pieces. 3x3 "
2. Divide the dough into 28 pieces. Cover unused dough. Take a piece out and flatten. Add in large tbsp fillings, egg, and sausage. Place bun on wax paper, in steaming tray and cover. Repeat until you have enough buns to steam.
3. Heat water and add in 3-4 tbsp vinegar and steam buns for 30+ minutes. Open the cover the first 5 minutes to release steam water then cover and continue to steam.


(Note: Fry buns in some oil until golden. Try not to fry too many at a time since it will burn fast.)

Thursday, July 2, 2009

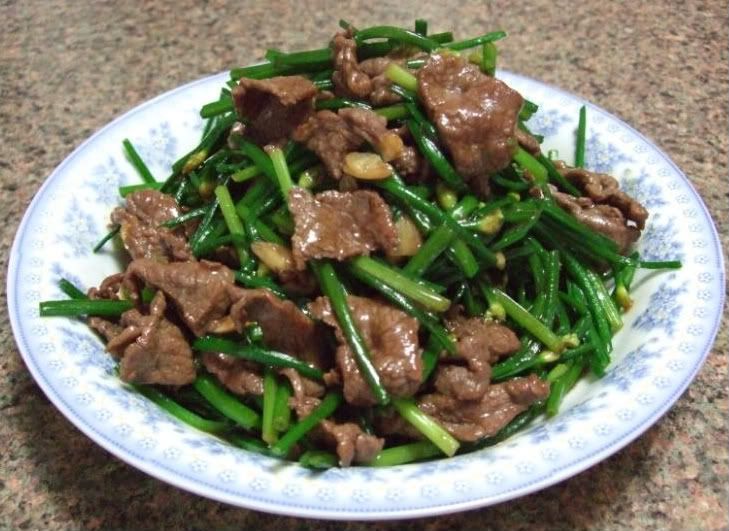
Beef Stir-Fry Chive Buds

Chive buds is a lot better than the regular chive. It is crisp and sweet. Stir-fry with beef is perfect for rice.


Ingredients:

500 grm chive buds (1 big bundle)
1/2 lb beef sliced
2-3 cloves of garlic chopped

1 tbsp cornstarch with 1/4 cup water

Method:

1. Marinate beef with some chopped garlic, 1 tsp oyster sauce, dash salt, 1 tsp fish sauce, 1/2 tsp sugar, 1 tsp oil, 2 tbsp water. Marinate for a least 10 minutes.

2. Cut the chive buds about 2 inches long and then rinse over water.

3. Heat the wok and add in 2 tbsp oil and garlic. Stir-fry garlic until golden brown. Now add in the beef and stir fry until almost done. Add in the chive buds and give it a couple stir.

4. Add in 1/2 tsp salt, 1 tsp fish sauce, 2 tbsp oyster sauce, 1/2 tsp sugar, 1 tbsp dark soy sauce, 1/4 cup water. Stir well and taste. Now add in some cornstarch mixture to give it a glaze.

5. Serve with white rice.

(Note: Don't stir too long or the chive buds will be too soft.)

Friday, June 26, 2009

How to Cut a Jackfruit

What is a jackfruit? A jackfruit is the world largest tropical fruit. It can weigh over 80lbs. Jackfruit contains Vitamin A, Vitamin C, thiamin, riboflavin, calcium, potassium, sodium, zinc, and niacin. 100 grams of jackfruit contains only 94 calories.

I love to this fruit so does my mom. The two of us purchased 7 jackfruits for this season already! Now, a lot of you may know how to eat but do you know how to pick and open one? Let me teach you what I've learned from my mum. :)


1. Pick a jackfruit that is uniform all around. Reason for this is because you'll get more flesh (bulb) than fibre (rags). Look at the one I picked below. Rags are okay to eat but it have no taste to it. Some people use it to cook...but I just get rid of it since I don't know what to cook it with.

2. Finding a ripe jackfruit. When ripe, the fruit will give a little when pressed. You can also smell the aroma of the fruit. If the jackfruit is hard as a rock and no aroma, then you should leave it alone since it will not ripe until a few days or it will never ripe since they picked too soon.

3. Some jackfruit have green skin and some have yellow skin like the one below. If you see a black skin jackfruit, leave it alone as it is rotten or overripe. Once a jackfruit overripe, it does not taste good at all and might make you sick. :) Some jackfruit have yellow, dark yellow, or orange flesh. Some flesh is more crunchy than the other. You can never really tell by the skin unless you're an expert. :)

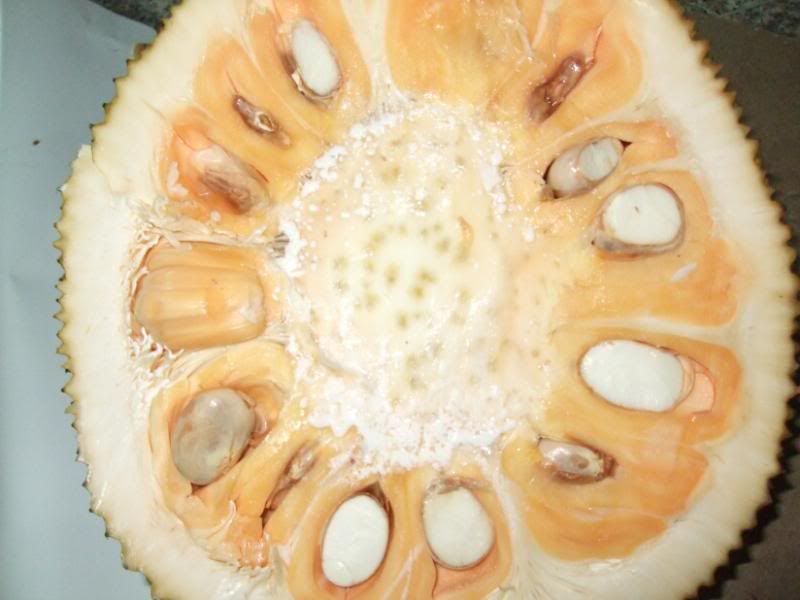
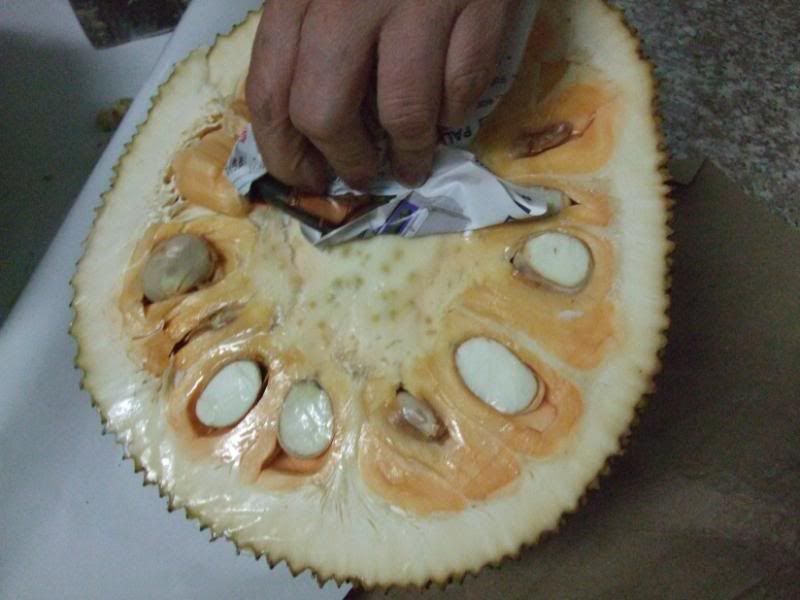
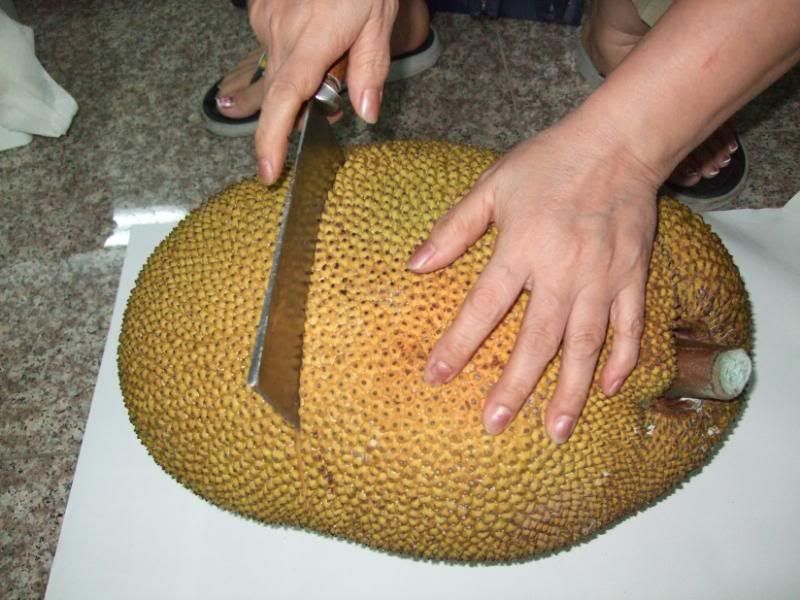
Cut the jackfruit in half.
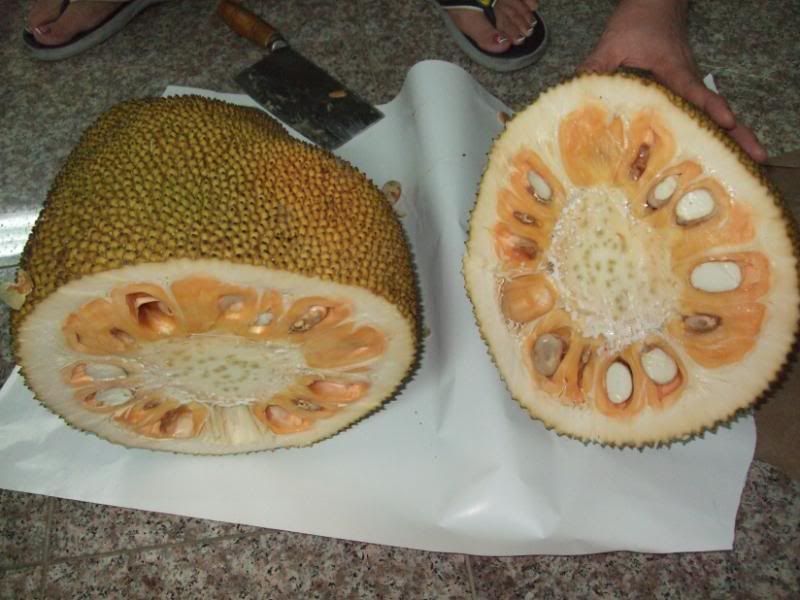
As you can see, I picked a really good fruit. It is mainly flesh!!! The flesh is also very big and thick. Very sweet.

Do not touch the gum as it will glue all your fingers together.
Now use one of the magazine paper and wipe the gum off the fruit. Use as many papers as needed. Or use paper towel...but magazine is better.
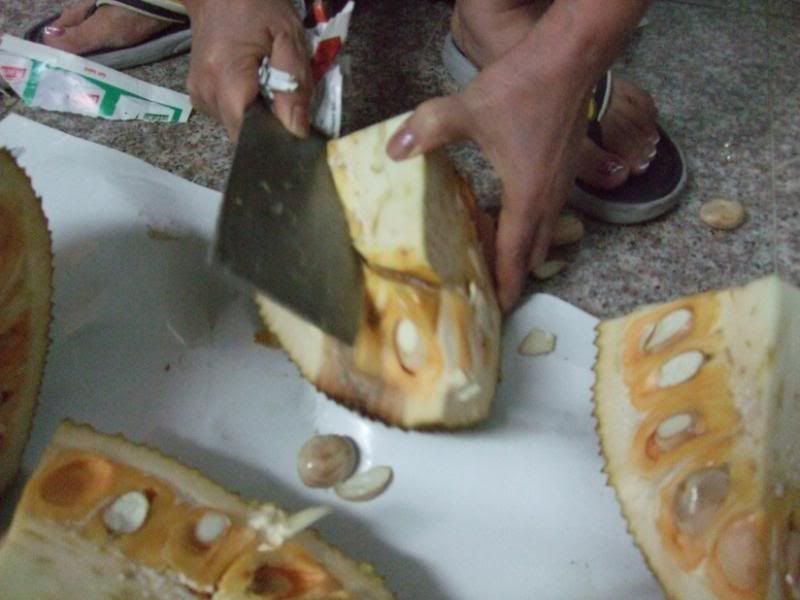
Cut the fruit in halves again.

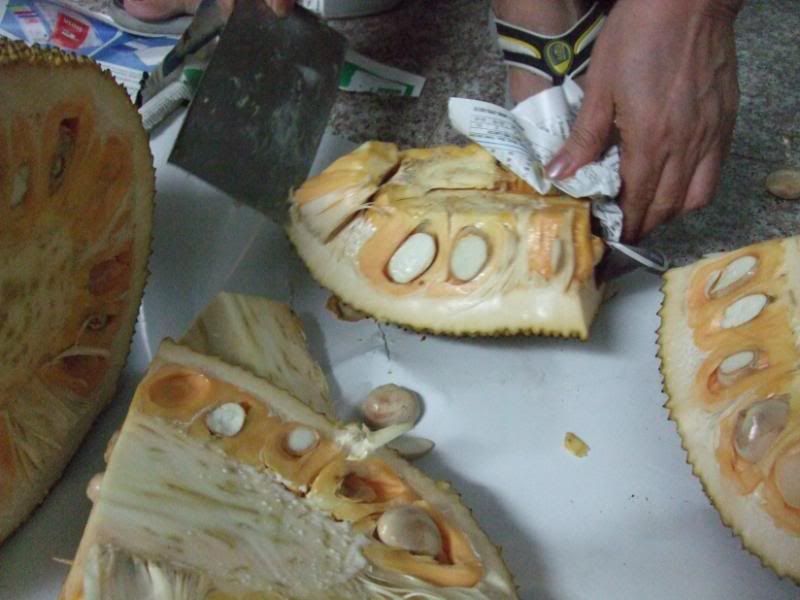
Remove the central core as it is inedible. Get ready to clean the gum again.

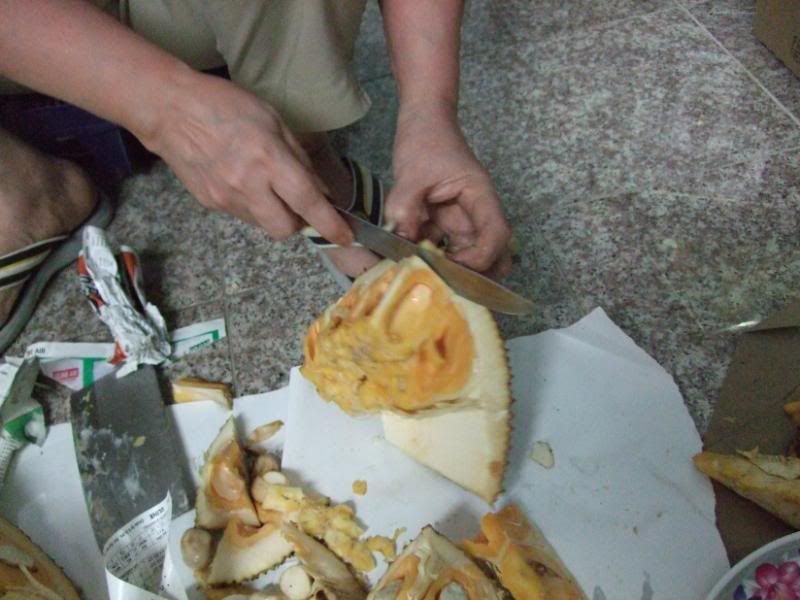
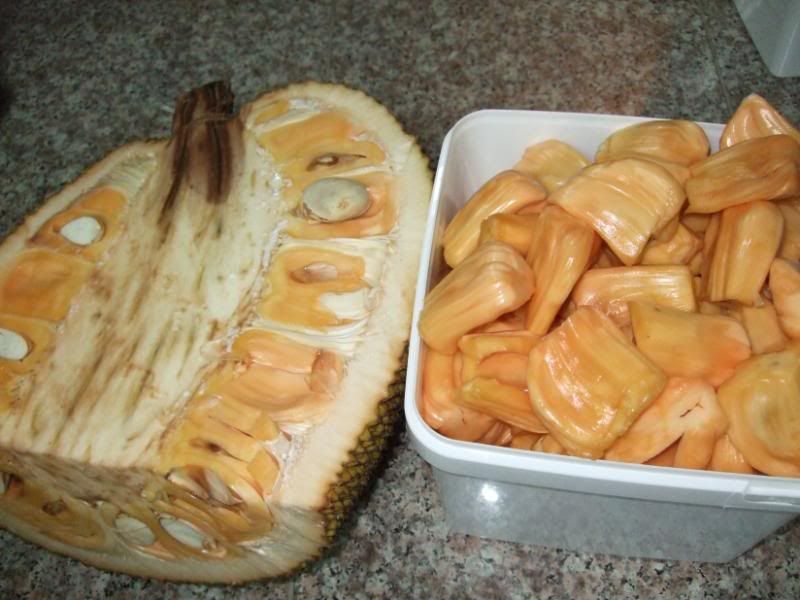
Now cut the bottom of the bulbs. This will make it easier to get the bulbs out from the skin. As you can see if you pick a good one then you should have more bulbs than rags.
Clean off the rags and eat the bulbs. Cover and save the uncut fruit in the refrigerator to slow down the ripening process. The bulbs can be kept in air tight container in the refrigerator for at least a week! Better when it's cold!!!

Some people...include my mom eat the seeds. She cooks the seeds over boiling water for over 5 minutes and then add in a dash of salt. The seeds can also be roasted. It tastes like chestnut. Of course just eat the inside of the seeds and not the skin. :)

Cleaning is the hard part. But if you have fluid oil or kerosene oil use it to clean the knive and hands first then wash off with soap and water. It should works with vegetable oil too but takes longer.

Hope you learn something today!